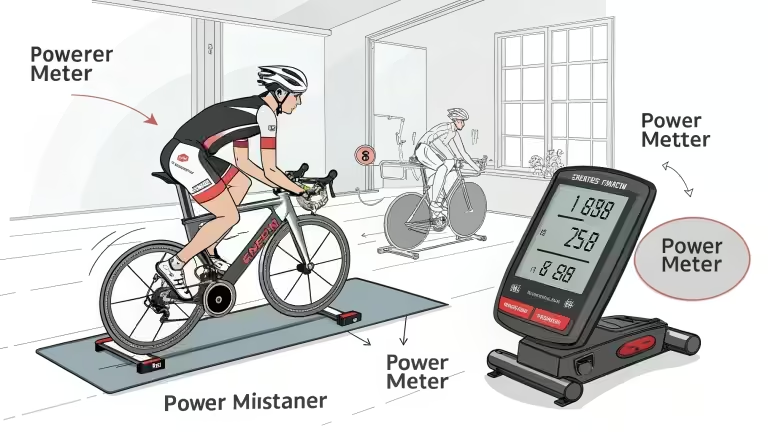
Learning how to use a power meter for cycling training can be a game-changer, empowering you to take control of your training and improve your performance on the bike. Power meters provide objective data that heart rate monitors simply cannot match. Unlike traditional training methods that rely on feel or heart rate, power gives instant feedback about your effort. This guide will walk you through everything you need to know about effectively using a power meter for cycling training, giving you the confidence to push your limits and reach your goals.
Many cyclists struggle with inconsistent training results because they lack precise measurement tools. Power meters, which measure the exact force you apply to the pedals in real time, provide precision and accuracy that can give you confidence in your training. You’ll discover how to set up your device, understand the data, and create training plans that work, knowing that you’re working with the most accurate information available.
What is a Power Meter and How Does it Work
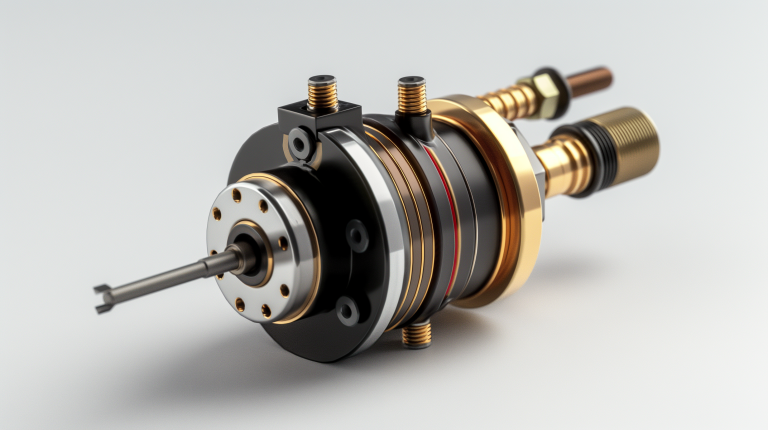
A power meter measures the force you apply to your bike’s drivetrain, expressed in watts. The device uses strain gauge sensors to detect tiny changes in material flex when you pedal. These sensors convert mechanical force into electrical signals that calculate your power output, providing a reliable and consistent performance measure.
The basic formula is simple: Power equals Force times Velocity. Your power meter combines the torque you create through pedalling with your cadence to give you an instant power reading. This measurement happens many times per second, providing continuous feedback during your ride.
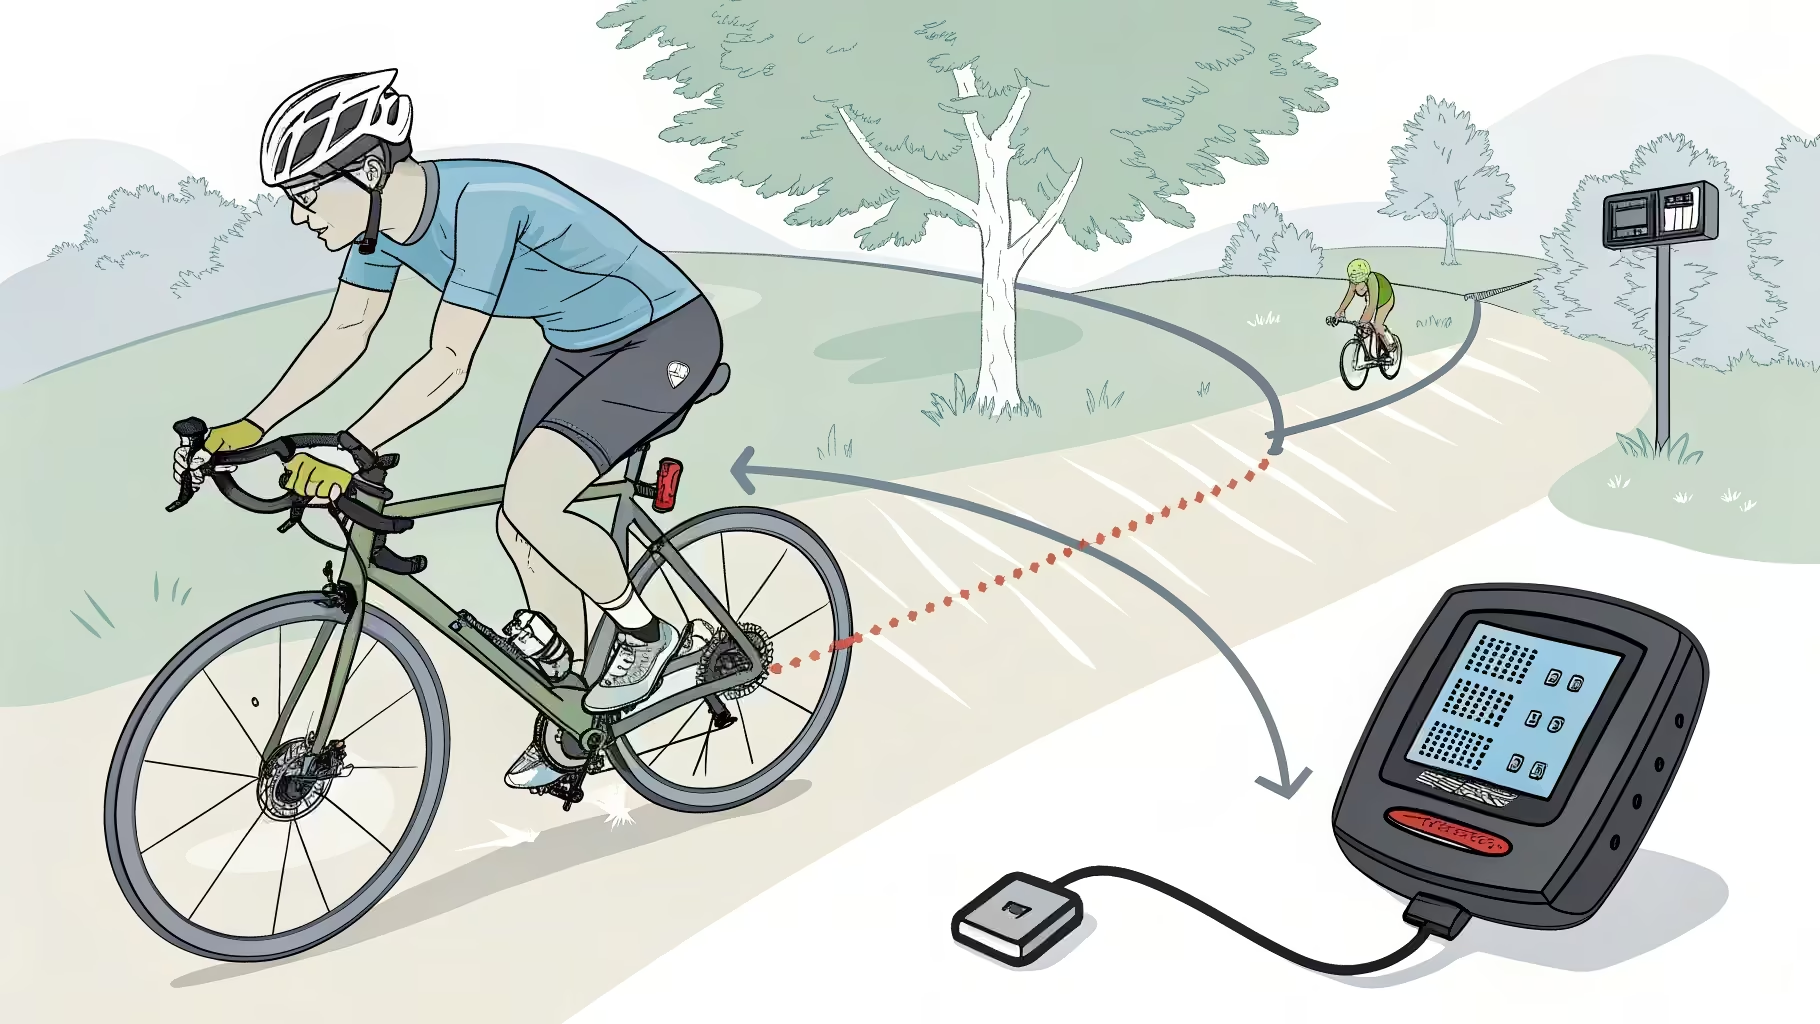
Modern power meters connect to cycling computers through ANT+ or Bluetooth protocols. The data appears on your screen immediately, unlike heart rate, which can take up to two minutes to respond to effort changes. This instant feedback makes power meters incredibly valuable for precise workout execution.
Types of Power Meters for Cycling Training
Understanding the different power meter types is crucial, as it helps you choose the right option for learning to use power meters for cycling training. Each type has specific advantages and limitations, depending on your needs. This knowledge will guide you in making an informed decision that aligns with your training goals and budget.
Pedal-Based Power Meters
Pedal-based systems offer the most straightforward installation. By simply replacing your existing pedals, you can swap them between multiple bikes in minutes. Popular options like Favero Assioma pedals provide dual-leg measurement and rechargeable batteries. The main drawbacks are the higher cost and potential weather sensitivity.
Crank-Based Power Meters
Crank-mounted systems integrate directly into your crank arm, offering excellent protection from environmental elements. Single-sided versions like Stages and 4iiii cost less but double your left leg power. Dual-sided crank systems measure both legs independently for more accurate data.
Spider-Based Power Meters
Spider systems mount at the chainring level, providing professional-grade accuracy. They offer excellent protection and consistent readings but require a more complex installation. These systems work well for dedicated race bikes where maximum reliability is desired.
Hub-Based Power Meters
Hub-based systems require wheel rebuilding but offer maximum protection and extended battery life. While less common now, they remain viable for riders prioritising low maintenance. However, their installation complexity makes them less appealing for most cyclists.
Getting Started with Power Meter Training
The first step in using a power meter for cycling training involves proper setup and calibration. Most power meters require zero-offset calibration before every ride. This quick process ensures accurate readings regardless of temperature changes.
Pair your power meter with your cycling computer through the device settings menu. Select the correct power meter model to ensure proper data transmission. Test the connection with a short ride to verify everything works correctly.
Your cycling computer should display current power, average power, and other metrics during rides. Set up data screens that show the information you need without overwhelming yourself with too many numbers. Most beginners benefit from displaying current power, average power, and time.
Understanding FTP and How to Test It
Functional Threshold Power represents the maximum average power you can sustain for one hour. FTP serves as the foundation for all power-based training zones. This number determines your training intensities.
The most common FTP test involves a 20-minute maximum effort after a proper warm-up. Your FTP equals 95% of your 20-minute average power. Alternative tests include 8-minute protocols or ramp tests that may suit different fitness levels. Understanding these tests and their results will help you accurately determine your training intensities.
Proper FTP testing requires controlled conditions and adequate rest beforehand. Indoor testing on smart trainers provides the most consistent environment. Outdoor testing works but requires familiar routes with minimal traffic interruptions.
Retesting your FTP every 4-6 weeks is crucial for tracking fitness improvements and adjusting training zones. If your FTP changes significantly without retesting, your power zones become inaccurate. Regular testing ensures your training remains effective and helps you stay on track with your fitness goals.
Setting Up Power Training Zones
Once you know your FTP, you can establish seven distinct training zones for structured workouts. Each zone targets specific physiological adaptations and training goals. Mastering these zones is required to understand how to use a power meter for cycling training.
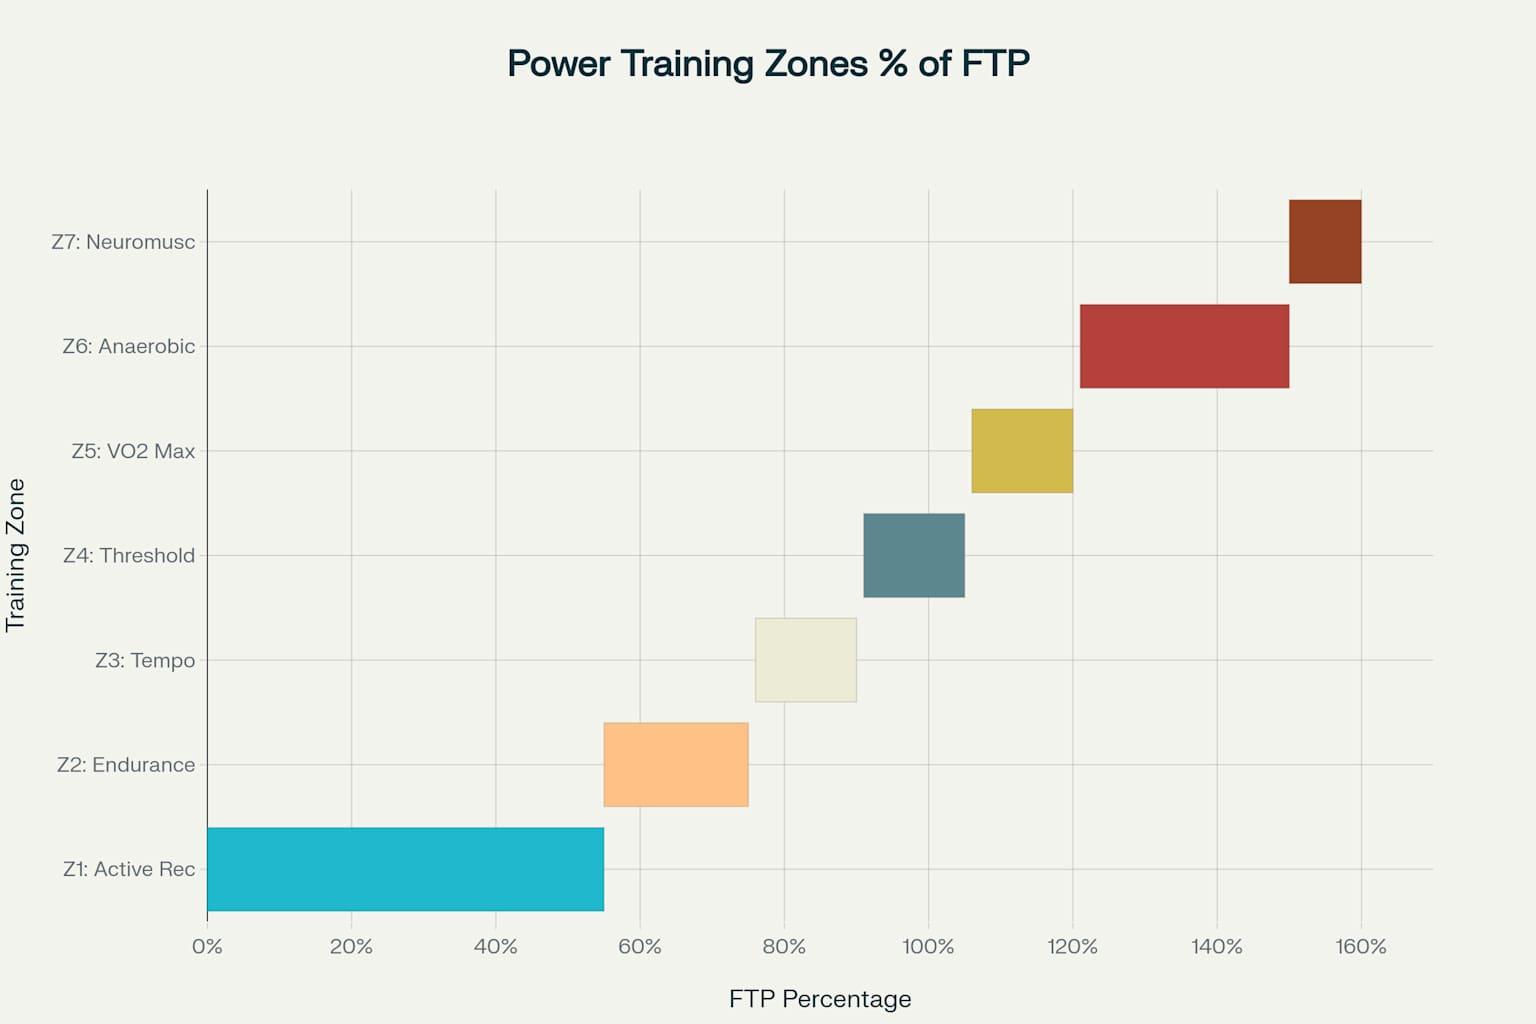
Power training zones showing intensity ranges as percentages of Functional Threshold Power (FTP)
Zone 1: Active Recovery (Under 55% FTP)
Active recovery rides help your body recover between harder training sessions. These easy-paced rides improve circulation and clear metabolic waste products. You should be able to hold conversations comfortably in this zone.
Zone 2: Endurance (55-75% FTP)
Endurance training builds your aerobic base and improves fat utilisation. Long rides in Zone 2 increase mitochondrial density and capillary development. This zone forms the foundation of most training programs.
Zone 3: Tempo (76-90% FTP)
Tempo efforts improve your aerobic power and muscular endurance. These moderately complex efforts can be sustained for 1-3 hours. Tempo training bridges the gap between endurance and threshold work.
Zone 4: Threshold (91-105% FTP)
Threshold training directly improves FTP and lactate clearance ability. These strenuous efforts typically last 20-60 minutes, and threshold work forms the core of most competitive training plans.
Zone 5: VO2 Max (106-120% FTP)
VO2 max intervals improve your maximum aerobic power. These arduous efforts last 3-8 minutes with adequate recovery between intervals. This zone develops your body’s ability to process oxygen efficiently.
Zone 6: Anaerobic (121-150% FTP)
Anaerobic training improves your ability to generate high power without oxygen. These maximal efforts last 30 seconds to 3 minutes. Anaerobic capacity helps with race surges and attacks.
Zone 7: Neuromuscular (Above 150% FTP)
Neuromuscular power training develops sprint ability and maximum force production. These all-out efforts last 5-15 seconds. Sprint training improves your ability to generate peak power for race finishes.
Essential Power Metrics for Training
Using a power meter for cycling training involves understanding key metrics beyond basic power output. These advanced metrics provide deeper insights into your training stress and workout quality.
Normalised Power (NP)
Normalised Power accounts for the variable nature of cycling efforts. NP provides a more accurate picture of physiological cost than simple average power. This metric typically runs 10-20% higher than average power during variable-intensity rides.
Intensity Factor (IF)
Intensity Factor quantifies workout intensity by dividing Normalised Power by your FTP. Suppose values range from 0.6 for leisurely rides to 1.05 for threshold efforts. This metric helps you compare workout intensities across different ride types.
Training Stress Score (TSS)
TSS combines workout intensity and duration into a single training load metric. One hour at FTP equals 100 TSS points. Weekly TSS totals help you manage training load and plan recovery.
Daily Training Application and Workout Execution
Successful power meter training requires consistent daily application of these principles. To ensure accurate data, start each ride with proper calibration. Position your cranks vertically and execute the zero-offset procedure through your cycling computer.
Use 3-5 second power smoothing during workouts to reduce data variability. Raw power data fluctuates too much for effective pacing. Smoothed data gives you readable numbers while maintaining accuracy.
Focus on your target power zones rather than chasing exact wattage numbers. Slight variations are normal during intervals. Staying within the prescribed zone range matters more than hitting precise power targets.
Indoor training with smart trainers provides controlled resistance for precise interval execution. Outdoor training requires attention to terrain and wind factors that affect power output. When used correctly, both environments offer valuable training opportunities.
Common Mistakes and How to Avoid Them
Many cyclists make predictable errors when learning to use a power meter for cycling training. Avoiding these mistakes accelerates your progress and prevents frustration.
Skipping Calibration
Failing to calibrate before rides leads to inaccurate data and poor training decisions. Temperature changes affect strain gauge sensitivity. Always perform zero-offset calibration before essential workouts.
Obsessing Over Instantaneous Power
Staring at second-by-second power creates erratic pacing and unnecessary stress. Use display smoothing and focus on staying within target zones. Consistent effort matters more than perfect power numbers.
Comparing Power Between Different Meters
Even measuring the same effort, different power meter brands can show slight variations. Comparing numbers between riders using different equipment leads to misleading conclusions. Focus on your progress rather than absolute comparisons.
Ignoring Recovery Data
Power meters provide valuable information about when you need rest. Training Stress Balance and other fatigue metrics warn against overtraining. Listening to your power data prevents illness and injury.
Power Meter Maintenance and Care
Proper maintenance ensures your power meter provides accurate data for years. Regular cleaning after rides prevents dirt and salt buildup that can affect performance. Use mild soap and soft cloths rather than high-pressure water.
Battery management significantly impacts power meter reliability. Replace batteries according to manufacturer recommendations using the specified battery type. Lithium batteries perform better than alkaline alternatives in temperature extremes.
Firmware updates often improve accuracy and add new features. Check manufacturer apps regularly for available updates. Updated firmware can enhance battery life and measurement algorithms.
When not in use, store your power meter in moderate temperatures. Extreme heat or cold can reduce battery life and affect component longevity. Protective caps help prevent dust and moisture ingress during storage.
Mastering Your Power Meter Training Journey
Mastering a power meter for cycling training takes time and consistent practice. Start with basic power zone training before advancing to complex metrics. Focus on building good habits with calibration and data interpretation.
Your power meter provides objective feedback that eliminates guesswork from training. Use this data to create structured workouts that target your specific weaknesses. Regular FTP testing tracks your progress and keeps training zones current.
Remember that power meters are tools to improve your cycling, not magic devices that automatically make you faster. Consistent training guided by accurate power data leads to meaningful performance improvements. Take time to learn the fundamentals before diving into advanced applications.
Using a power meter for cycling training pays dividends through more effective workouts and better results. Your power meter becomes more valuable as your understanding deepens. Start with the basics in this guide and gradually expand your knowledge as you gain experience.