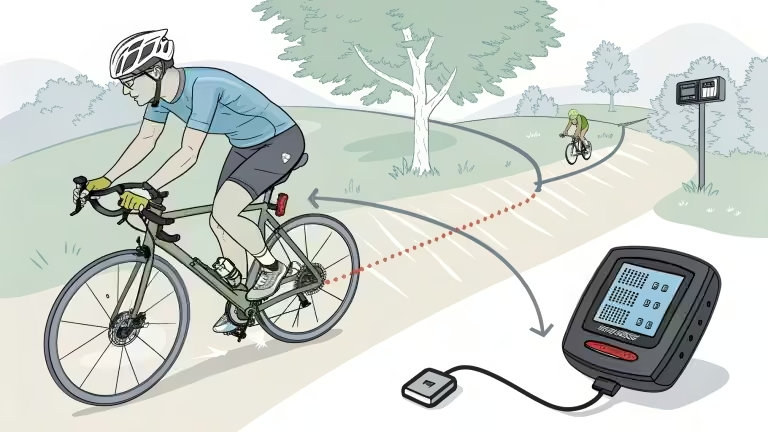
Learning to train with a power meter can feel overwhelming when you first clip in with that new device attached to your bike. You’ve probably heard fellow cyclists talking about watts, FTP, and training zones, and you’re wondering if you need an engineering degree to understand it all. The good news is that mastering power meter training doesn’t require complex calculations or years of experience.
Power meter training is a game-changer. It offers the most accurate way to measure your cycling effort and track improvements over time. Unlike heart rate monitors, which can be affected by stress, hydration, and temperature, power meters provide objective data that reflects exactly how much work you do. This guide will walk you through everything you need to know about training with a power meter, from basic setup to advanced training strategies.
Understanding Power Meter Training Basics
When you start learning to train with a power meter, you enter a world where every pedal stroke gets measured in watts. This measurement represents your work, regardless of external factors that might influence other metrics. Power meters calculate this by measuring the force you apply to the pedals and the speed at which you turn them.
One of the most empowering aspects of power meter training is its immediacy. Unlike heart rate, which takes time to reflect changes in effort, power data is instant. This means you can adjust your effort in real time during workouts, maintaining precise intensity levels throughout your training sessions.
Power meter training becomes especially valuable during longer rides where heart rate drift can make traditional heart rate zones unreliable. After several hours of riding, your heart rate might increase even though your actual effort remains constant, making power data the more reliable metric for pacing.
What is a Power Meter and How Does it Work
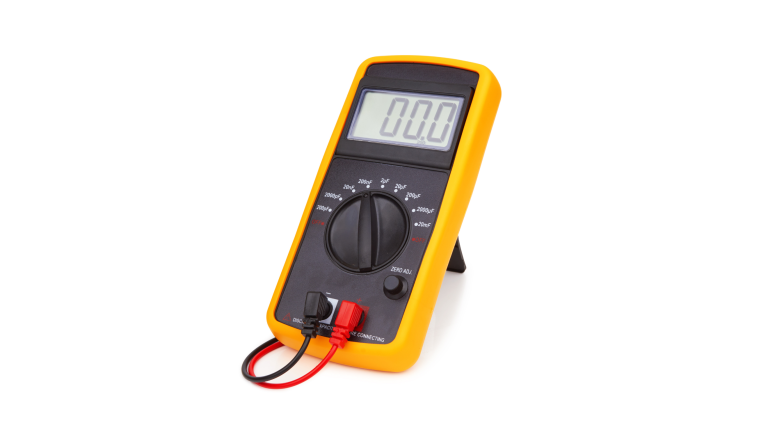
A power meter uses strain gauges to measure the force you apply while cycling, then converts this into watts displayed on your bike computer. These devices typically attach to different parts of your bike’s drivetrain, including pedals, cranks, spider, or rear hub.
The technology behind power meters focuses on measuring torque and cadence simultaneously. When you push down on the pedals, strain gauges detect the slight deformation in the metal components, calculating the exact force being applied. Combined with your pedalling speed, this gives you precise power output measurements.
Power meters come in single-sided and dual-sided versions. Single-sided units measure power from one leg and double the reading, while dual-sided meters measure both legs independently. Dual-sided systems provide more accuracy but cost significantly more than single-sided options.
Setting Up Your Power Meter for Training
Proper setup forms the foundation of successful power meter training. Ensure your power meter is installed according to the manufacturer’s specifications. Most power meters require pairing with your bike computer or smartphone app before you can begin training.
Calibration is the most critical step in power meter setup. This process, often called zero-offset calibration, ensures accurate readings by accounting for temperature and installation variations. Before initiating calibration, position your bike upright with cranks vertical and no weight on the pedals.
Regular calibration becomes essential for maintaining accuracy. Perform calibration before critical rides, tests, or competitions. Modern power meters include automatic calibration features, but manual calibration remains recommended for significant changes like new installations.
Finding Your Functional Threshold Power
Functional Threshold Power (FTP), the cornerstone of power meter training, is like the North Star guiding your cycling journey. It represents the maximum power you can sustain for approximately one hour, typically tested using shorter protocols for practical reasons. This metric determines all your training zones and workout intensities.
The standard FTP test involves a 20-minute all-out effort after proper warm-up. Following the warm-up, ride at maximum sustainable effort for 20 minutes, then multiply your average power by 0.95 to calculate FTP. This 5% reduction accounts for the difference between 20-minute and 60-minute efforts.
Alternative FTP testing methods include 8-minute tests and ramp tests. Ramp tests gradually increase power every minute until exhaustion, then calculate FTP from your peak power output. Regardless of testing method, retest every 6-8 weeks to ensure your training zones reflect current fitness levels.
Regular FTP testing is a proactive step that ensures you constantly train with the most accurate zones. Your zones should increase as your fitness improves to provide the proper training stimulus. Similarly, adjusting your zones downward after periods of reduced training can prevent overreaching. This engagement with your training is key to your progress.
Power TraLiker training zones, like a roadmap to your yopower training zones ur cycling potential, divide your effort into specific ranges based on FTP percentages. The most widely used system includes six zones, each targeting different physiological adaptations. Understanding these zones helps structure effective training programs.
Zone 1 represents active recovery efforts below 55% FTP. These rides feel extremely easy and promote recovery between harder training sessions. Zone 2, ranging from 56-75% FTP, builds aerobic base fitness and can be sustained for hours.
Zone 3 encompasses tempo efforts at 76-90% FTP, developing muscular endurance for sustained moderate efforts. Zone 4 covers threshold training at 91-105% FTP, directly improving your FTP through targeted intervals. Zones 5 and 6 target high-intensity capabilities, with Zone 5 developing VO2 max and Zone 6 focusing on neuromuscular power.
Essential Power Metrics You Need to Know
Beyond basic power output, several key metrics enhance power meter training effectiveness. Normalised Power accounts for the variable nature of outdoor cycling, providing a more accurate representation of physiological stress than average power. This metric becomes particularly valuable for analysing races or group rides with frequent intensity changes.
Training Stress Score (TSS) quantifies overall workout difficulty by combining intensity and duration. One hour at FTP equals 100 TSS points, with shorter, more strenuous efforts producing similar stress scores to longer, more leisurely rides. TSS helps balance training load across weeks and months.
Intensity Factor (IF) represents the ratio between Normalised Power and FTP. IF values help categorise workout difficulty and ensure appropriate intensity distribution. Values above 1.0 indicate efforts above the threshold, while values below 0.7 represent easy endurance rides.
Structured Workouts Using Power Zones
Practical power meter training relies on structured workouts targeting specific adaptations. Zone 2 endurance rides form the foundation, typically lasting 1-6 hours at a comfortable conversational pace. These sessions build aerobic capacity and improve fat-burning efficiency.
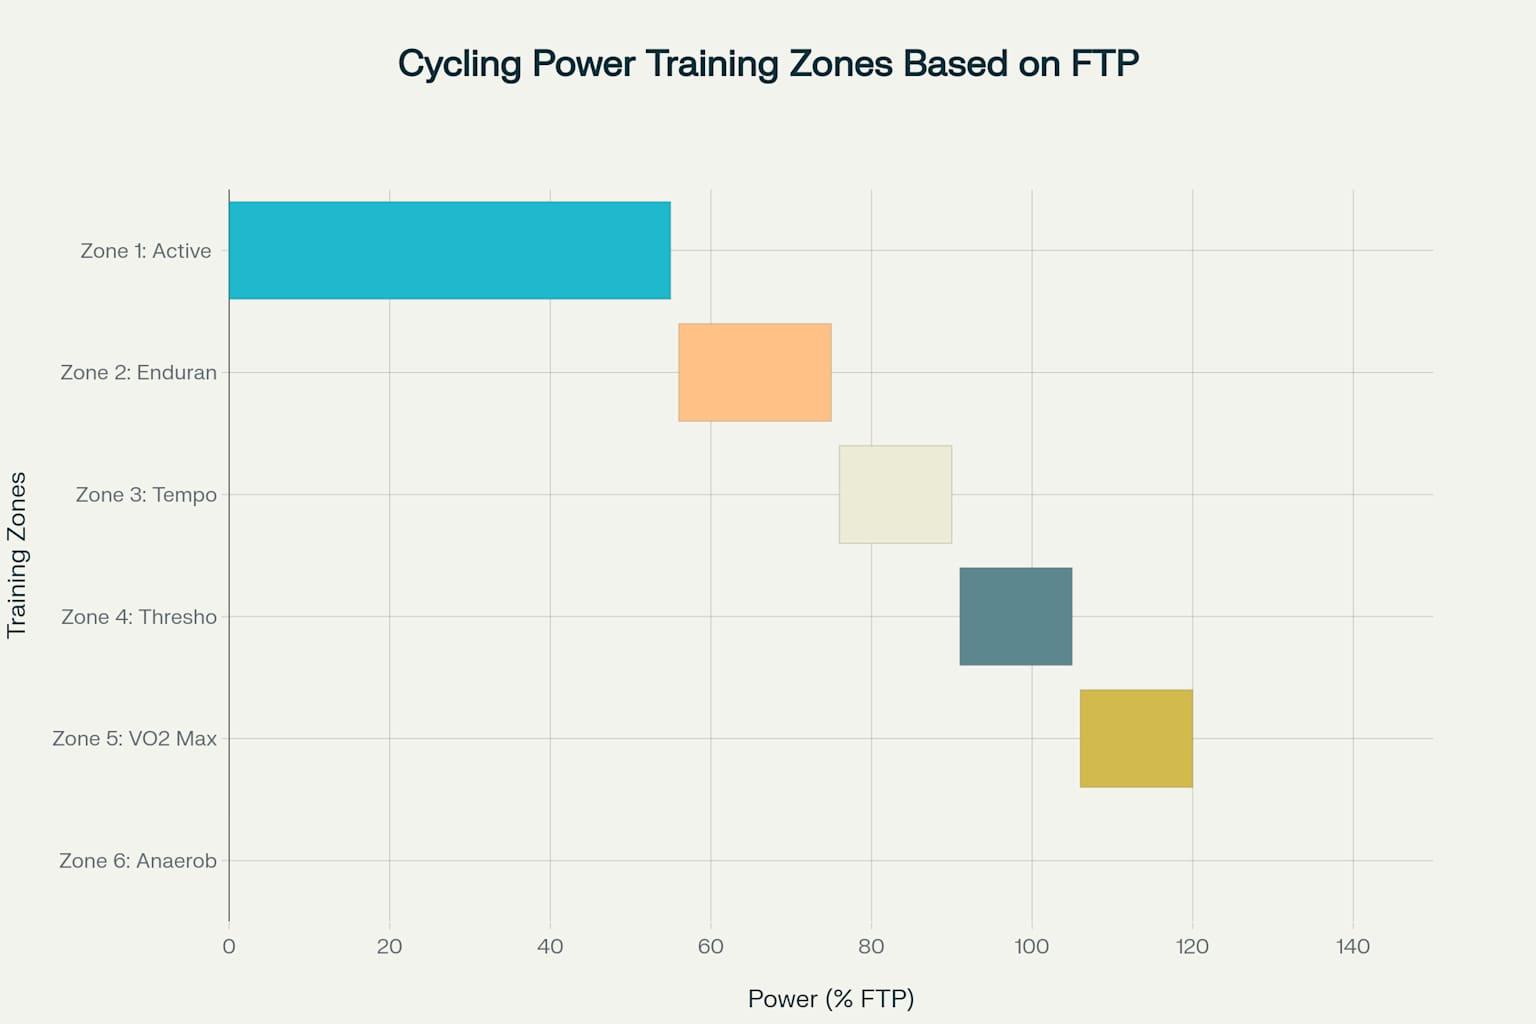
Cycling power training zones chart showing the six main zones used for structured training with a power meter
Sweet spot training at 88-94% FTP provides excellent returns on training time investment. This intensity sits between tempo and threshold zones, allowing significant training stress without excessive fatigue. Sweet spot intervals typically last 10-20 minutes with equal rest periods.
Threshold intervals directly target FTP improvement through efforts at 91-105% FTP These sessions usually involve 2-3 intervals of 8-20 minutes with adequate recovery between efforts. VO2 max intervals at 106-120% FTP develop high-end power through shorter, more intense efforts
Analysing Your Power Data Effectively
Power data analysis transforms raw numbers into actionable training insights. Start with basic metrics like average power, normalised power, and TSS before progressing to advanced study. Most cycling computers and smartphone apps automatically calculate key metrics, simplifying the analysis process.
Focus on trends rather than individual workout data. Weekly and monthly power curves reveal fitness changes more clearly than daily variations. Compare recent performances to historical data to track progress and identify training responses.
Concentrate on metrics that directly inform training decisions to avoid analysis paralysis. TSS helps plan recovery, while power curves identify strengths and weaknesses. Too much analysis can distract from consistent training execution.
Common Power Training Mistakes to Avoid
New power meter users often make predictable mistakes that limit training effectiveness. Failing to calibrate regularly leads to inconsistent data and poor training decisions. Always calibrate before critical rides or when environmental conditions change significantly.
Another standard error involves training with outdated FTP values. Fitness changes constantly, making regular FTP testing essential for accurate zone training. Using zones based on old fitness levels limits progress or causes excessive fatigue.
Many cyclists also get overwhelmed by data complexity, focusing on analysis instead of consistent training. Remember that power meters are tools to guide training, not replace the fundamental need for consistent, progressive workouts.
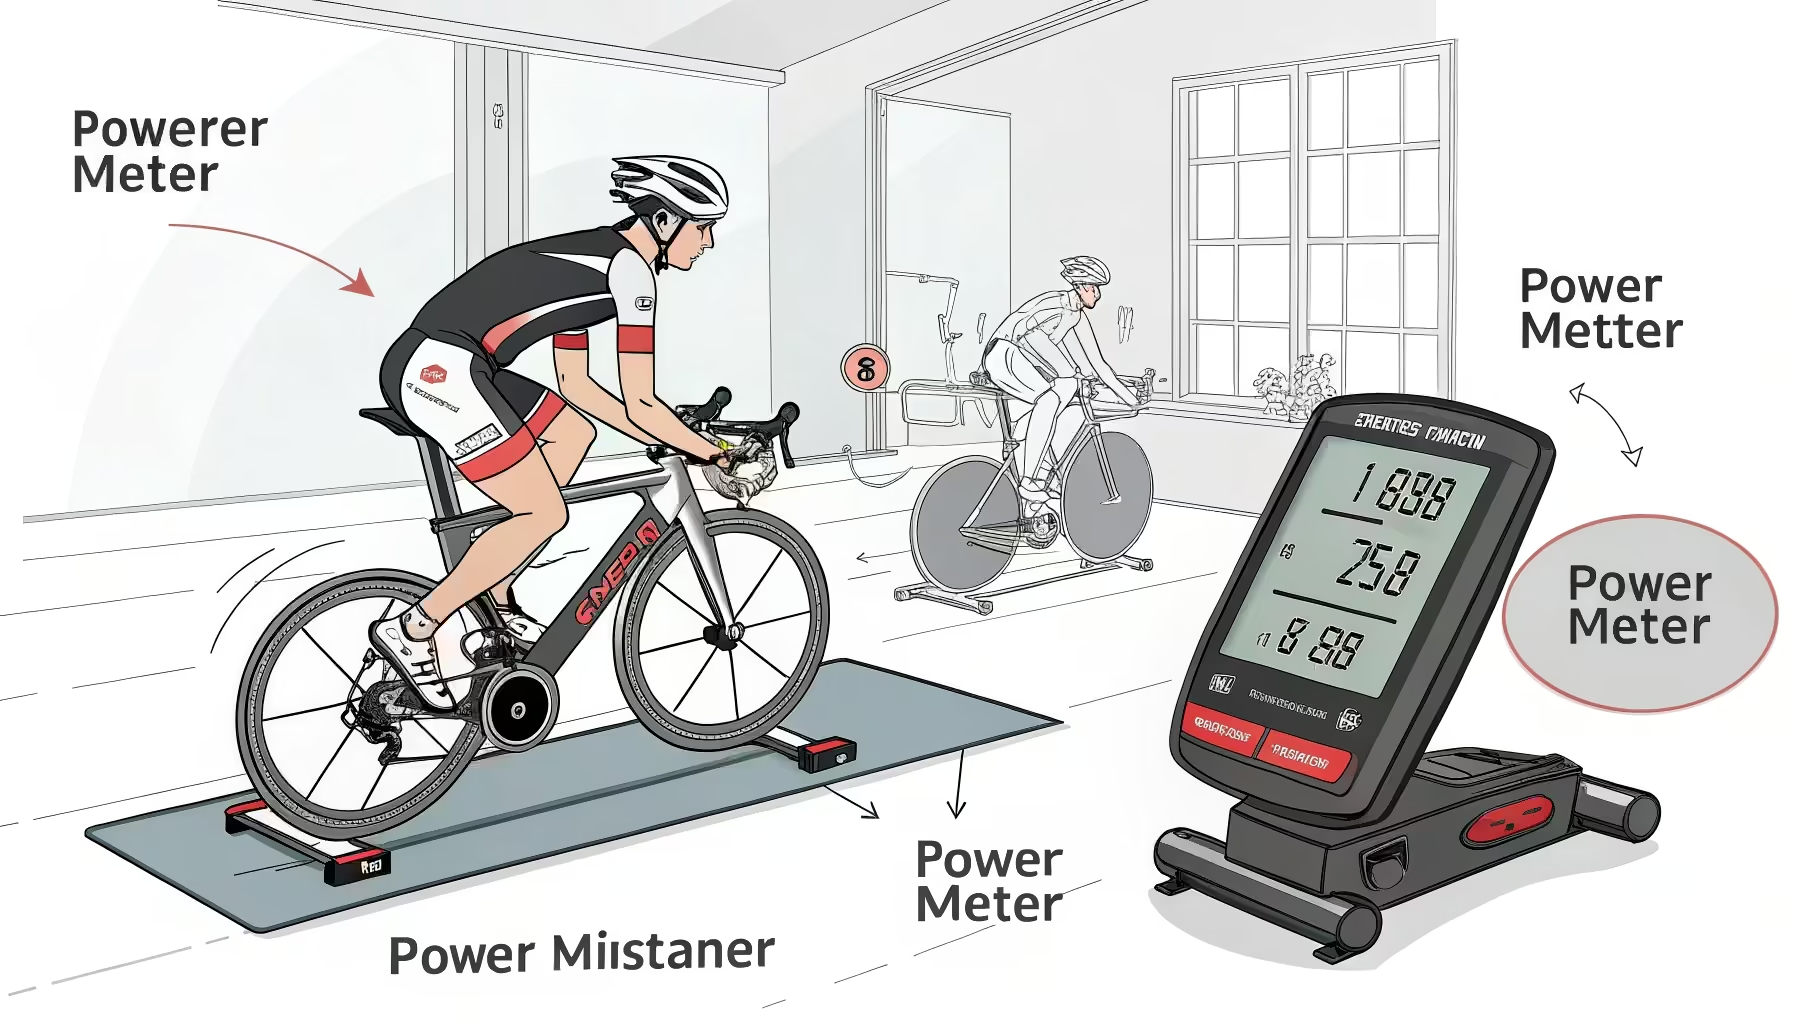
Indoor vs Outdoor Power Training Considerations
Indoor and outdoor power training present different challenges and opportunities. Indoor training eliminates variables like wind, terrain changes, and traffic, allowing precise interval execution. However, indoor power readings may differ from outdoor measurements due to variations in trainer accuracy.
Environmental factors affect outdoor power meter accuracy more than indoor readings. Temperature changes, altitude variations, and bike positioning can influence power measurements. Many cyclists find that their FTP differs between indoor and outdoor testing.
Consider using separate FTP values for indoor and outdoor training if significant differences exist. This approach ensures appropriate training intensities regardless of the environment. Gradual adaptation often aligns indoor and outdoor power levels over time. Training with a power meter opens new possibilities for structured, practical training. Before advancing to complex metrics analysis, start with basic concepts like FTP testing and zone training. Remember that consistency in training matters more than perfect data interpretation. Your power meter provides the roadmap, but your legs still work. Focus on regular FTP testing, proper calibration, and structured zone-based training to maximise your cycling performance and reach your goals faster.