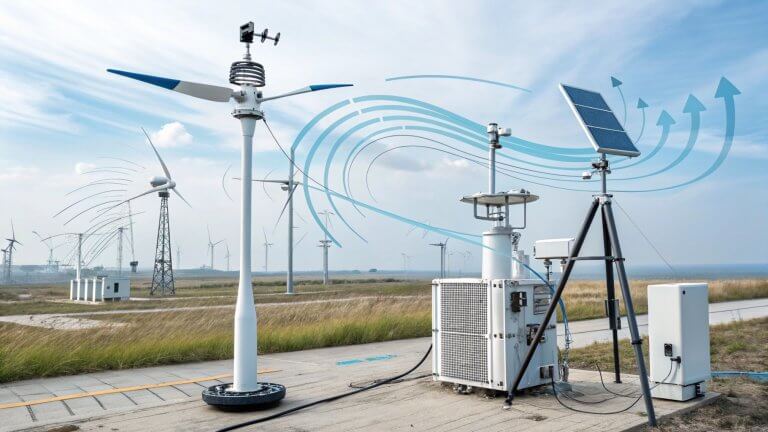
Here’s what you need to know: a wind meter, or anemometer, measures how fast air moves around you. You’ll find these tools on weather stations, at airports, and on windy hills where they power turbines. They turn wind into numbers you can read.
The key thing to understand is this: moving air pushes on parts of the meter. That push makes something spin or sends a signal. Then the device turns that motion into a wind speed value. It’s that simple, yet powerful—so you can plan flights, protect crops, or set up a wind turbine safely.
How does the wind meter work
Here’s what’s essential: wind meters turn moving air into data you can read. They do this by sensing how air pushes on a part of the device. In a cup anemometer, wind spins cups around an axis. The device counts revolutions to calculate speed. Hot-wire anemometers measure how wind cools a heated wire. Ultrasonic models time sound pulses between sensors to find wind speed. In every case, wind pressure or motion becomes an electrical or digital signal you see on a display.
Main Types of Wind Meters and How They Operate
Cup Anemometer Working Mechanism
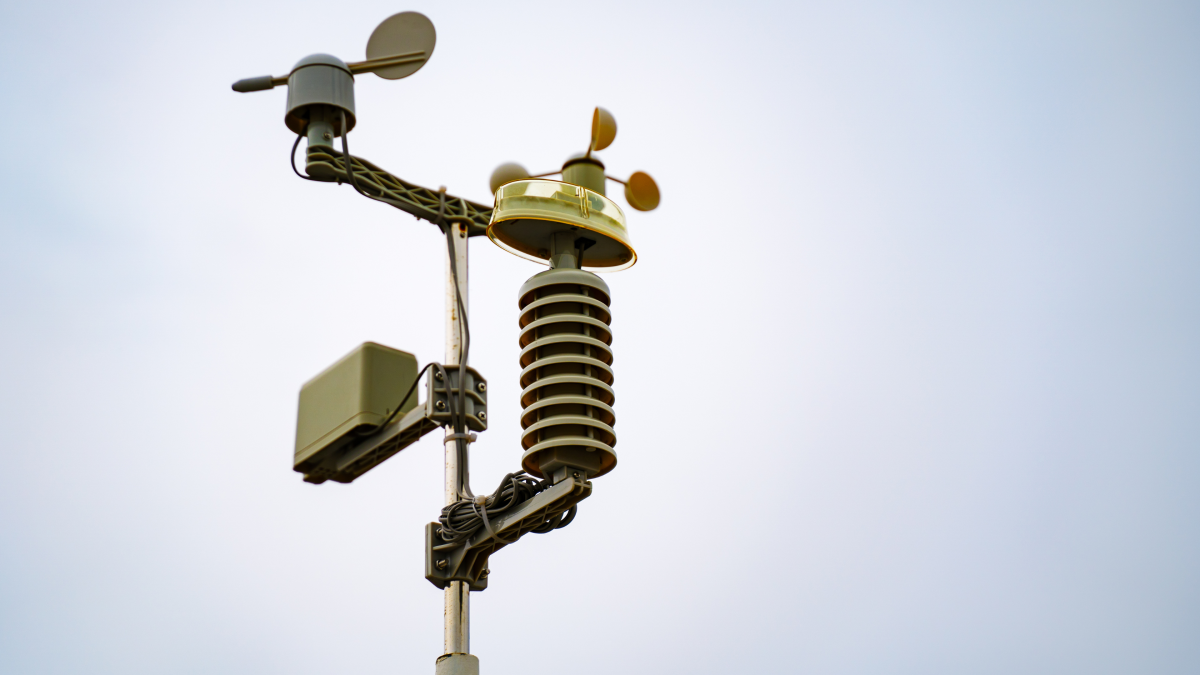
Cup anemometers use spinning cups to gauge wind speed with remarkable simplicity. You’ll see three or four cups attached to horizontal arms. Wind pushes the cups, causing them to spin around a vertical shaft. A sensor counts each rotation and converts it into a speed reading. I’ve found this design both simple and reliable for general weather stations. It handles wind from any direction without needing to turn the device.
Key Components and Features
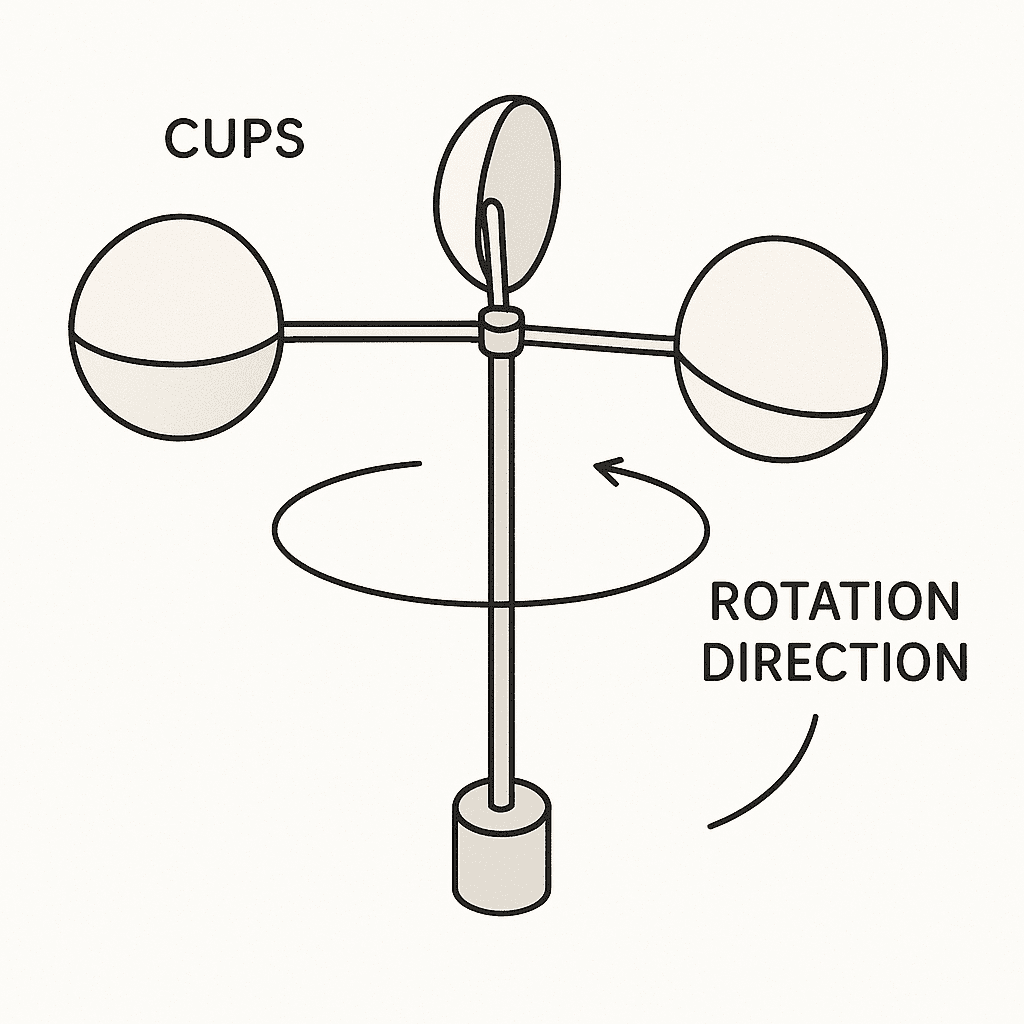
Diagram of cup anemometer operation
Hot-Wire Anemometer Operation
Hot-wire anemometers measure wind by tracking how air cools a heated wire. A thin wire heats to a set temperature. As the wind passes over, it cools the wire. The meter tracks the current change needed to keep the wire hot. That change links directly to wind speed. Engineers often use this for HVAC testing and lab research because it captures rapid gusts.
Ultrasonic Wind Meter Technology
Ultrasonic meters use sound pulses to measure wind without any moving parts. They send sound pulses between pairs of transducers. Wind speed affects the time it takes for pulses to travel. The meter compares upstream and downstream travel times. This method delivers accurate 3D wind vectors. It’s common in aviation and renewable energy sites.
Step-by-Step Wind Meter Operation Process
When you use a wind meter, it turns moving air into a clear speed reading through a few simple steps.
- Wind Enters Sensor
Wind hits the device’s sensing element—cups, wire, or transducers—creating motion or signal change. - Signal Generation
The moving part spins or the wire temperature changes, producing an electrical signal. - Signal Conditioning
An internal circuit filters noise and amplifies the raw signal for accuracy.cy - Data Conversion
A microprocessor measures pulses or time delays and applies calibration factors. - Speed Calculation
The processor uses a formula to convert signals into wind speed in the chosen unit. - Display Update
The calculated speed appears on the meter’s screen or outputs to a connected device - Data Logging (Optional)
Some models store readings over time for later analysis or link to software.
Each step happens in milliseconds, so you get real-time wind speed.
Wind Meter Accuracy and Calibration
Calibration ensures your wind meter stays accurate over time. Most devices report wind speed within ±5% or ±0.5 m/s. Accuracy depends on the technology:
|
Meter Type
|
Typical Accuracy
|
|---|---|
|
Cup anemometer |
±2–5% of reading |
|
Hot-wire anemometer |
±1–3% of reading |
|
Ultrasonic anemometer |
±0.5–2% of reading |
Environmental factors like temperature and humidity also affect accuracy. Regular calibration corrects these shifts.
Calibration Steps
- Compare readings with a reference standard anemometer
- Record differences at several wind speeds
- Adjust the device’s calibration factor or lookup table
- Verify accuracy at low, medium, and high wind speeds
- Repeat annually or after mechanical repair
Proper calibration ensures reliable data for safety checks, weather forecasts, or turbine performance.
Factors Affecting Wind Meter Performance
Real-world conditions can skew your wind readings, so it’s important to watch for:
Pay attention to installation and maintenance to ensure reliable data every time.
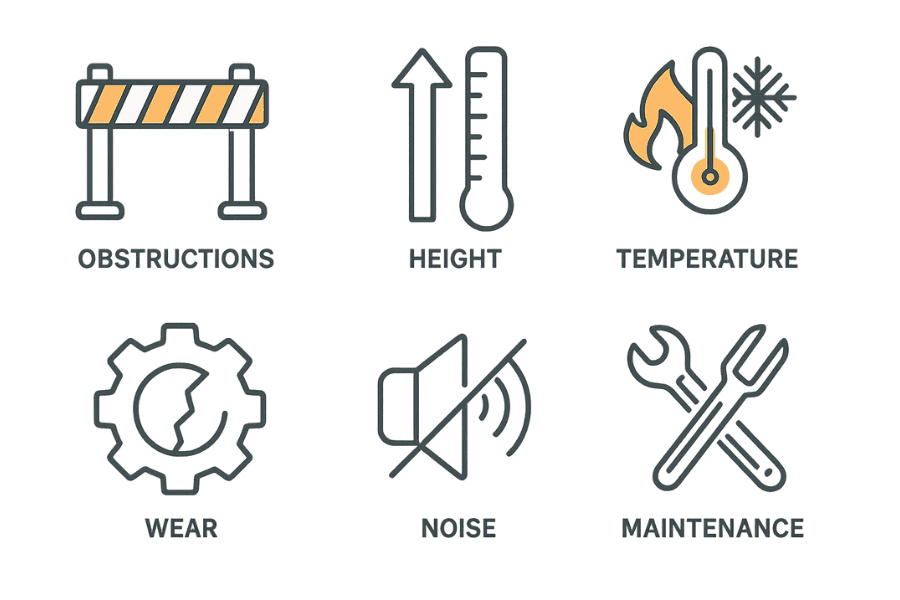
Factors affecting wind meter performance
Applications and Use Cases
Wind meters play a vital role across many fields you encounter every day. In weather forecasting, they feed real-time data to models that warn you of storms. Airport controllers watch runway winds to guide takeoffs and landings safely. Construction crews check gusts before lifting heavy materials. Farmers use wind readings to time spraying and protect crops from drift. Wind farm operators rely on meters to site turbines and verify energy output.
|
Application
|
Why It Matters
|
|---|---|
|
Weather forecasting |
Ensures storm warnings and alerts |
|
Aviation |
Guides take-off and landing decisions |
|
Construction |
Prevents accidents during lifts |
|
Agriculture |
Schedules spraying and protects crops |
|
Wind energy |
Optimizes turbine siting and yield |
Each use case has specific needs. For example, an airport might need ultrasonic meters for fast gust detection. A farmer might choose a simple cup anemometer for its low cost and ease of use.
Choosing the Right Wind Meter for Your Needs
Picking the right wind meter comes down to matching its features with your application and budget.
|
Feature
|
Cup Anemometer
|
Hot-Wire Anemometer
|
Ultrasonic Anemometer |
|---|---|---|---|
|
Accuracy |
±2–5% |
±1–3% |
±0.5–2% |
|
Response Time |
Moderate |
Fast |
Instant |
|
Moving Parts |
Yes |
No |
No |
|
Maintenance |
Moderate cleaning |
Regular calibration |
Low |
|
Price (USD) |
$30–$200 |
$150–$500 |
$300–$1500 |
|
Best For |
Home/weather hobby |
Lab/HVAC testing |
Aviation/wind farms |
Here’s how to pick:
- Define the accuracy needs
- Set your budget range
- Choose sensor type based on the environment
- Consider maintenance capacity
- Compare price vs. feature list
For example, if you need quick gust data at an airport, an ultrasonic model fits. If you want a simple backyard weather station, a cup anemometer often works well.
Installation and Setup Guidelines
Proper setup lets your wind meter deliver accurate readings. Follow these steps:
- Choose a clear site
Pick a spot at least 10 meters above ground.
Avoid nearby trees or buildings.s - Mount the sensor securely.
Use a rigid pole or a mast.t
Level the mounting bracket carefully.y - Align and orient
For vane anemometers, face the sensor into the prevailing wind.
Ultrasonic models need the correct transducer position.g - Connect power and data
Follow the manufacturer’s wiring for power and signal cables.
Seal all cable entries against moisture. - Perform initial calibration
Cross-check against a reference meter at low, mid, and high speeds
Adjust calibration factor as needed. - Verify operation
Ensure readings respond when you wave a board in front of the cups or van.e
Confirm data flows to the display or logging system.
Proper installation takes about 30–60 minutes and sets the stage for reliable wind data.
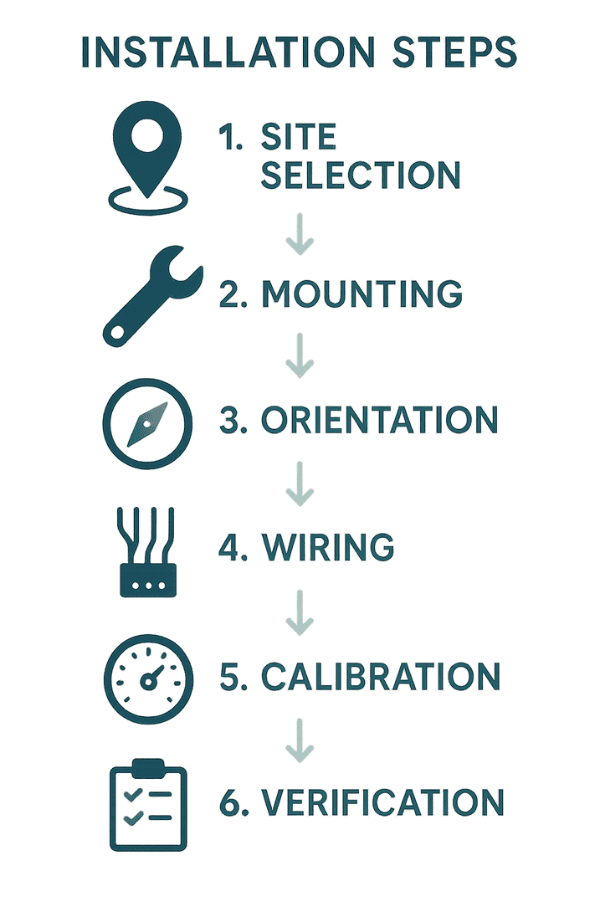
Installation and setup flow
Common Problems and Troubleshooting
Most wind meter problems have straightforward fixes you can handle yourself:
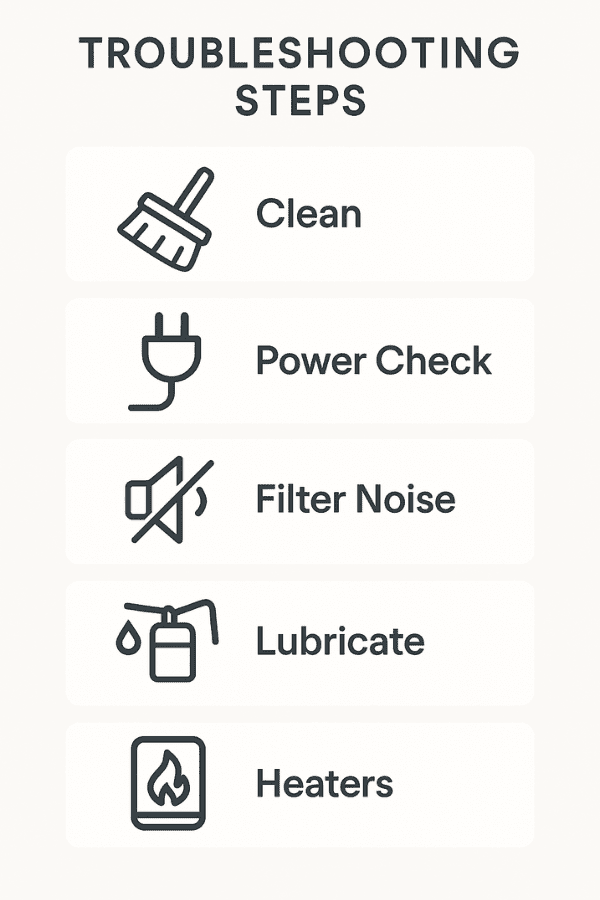
Common problems troubleshooting guide
Following these steps resolves approximately 90% of common wind meter issues, ensuring your data remains reliable year-round.
Advanced Wind Measurement Technologies
New technologies are making wind measurement more precise and convenient than ever.
Laser Doppler anemometers use light beams to track tiny particles in airflow. They deliver precise point measurements without any moving parts. LIDAR systems send laser pulses into the sky and read backscatter to map wind profiles across hundreds of meters. These tools help wind farm operators plan turbine layouts more accurately. IoT-enabled smart meters wirelessly stream real-time data to dashboards so that you can monitor wind from anywhere.
Conclusion and Next Steps
Your choice of wind meter hinges on accuracy needs, budget, and environment. Cup anemometers are suitable for hobbyists and those interested in basic weather tracking. Hot-wire models fit labs and HVAC testing. Ultrasonic devices excel in high-stakes fields like aviation and wind energy. To get started, list your must-have features, set a budget, and compare models side by side. Don’t forget to plan for routine calibration and maintenance to keep your readings spot on.