An anemometer, a versatile device, measures wind speed by converting wind force into readable data. You’ll find these instruments in weather stations, on sailing boats, and in renewable energy farms. Understanding how an anemometer works empowers students, hobbyists, pilots, and outdoor enthusiasts to make smarter, safer decisions in various situations.
This guide explains the key parts and physics behind anemometers. You’ll see step-by-step how each type—from cup to ultrasonic—captures wind and turns it into numbers. Along the way, you’ll learn setup tips, calibration essentials, and real-world examples tailored for drone pilots, sailors, farmers, and more.
What Is an Anemometer?
An anemometer is a device that measures wind speed—and sometimes direction. The name comes from the Greek word anemos, meaning wind. Early designs used simple cups or vanes; modern versions use heated wires or sound pulses to achieve precise readings.
These instruments work by sensing how the wind moves or cools a part of the sensor. Mechanical models spin cups or blades, while thermal types track wire cooling. Ultrasonic anemometers send sound waves and measure time delays to calculate wind speed and direction.
How Does an Anemometer Work?
Anemometers sense wind by detecting its impact on a specialized sensor. In mechanical models, wind pushes against cups or blades mounted on a shaft, causing the assembly to spin. Each full rotation triggers a magnetic or optical sensor, and the device converts these counts per minute into wind speed. This method handles strong gusts well but may under-read very light breezes.
Thermal anemometers use a fine, heated wire instead of moving parts. As wind flows across the wire, it cools and changes its electrical resistance. A built-in circuit tracks that resistance drop and translates it into a speed reading. These instruments excel at measuring gentle airflow but require careful calibration. Ultrasonic anemometers take a different approach: they send sound pulses between fixed transducers. Wind alters how fast the pulses travel, and comparing the send-receive times lets the device calculate both speed and direction with high precision.
Types of Anemometers
Anemometers come in four main styles. Each uses a different sensor to catch wind and convert it into data you can read.
Cup Anemometer
Cup anemometers spin when wind hits their cups. You’ll see them on weather stations and farms.
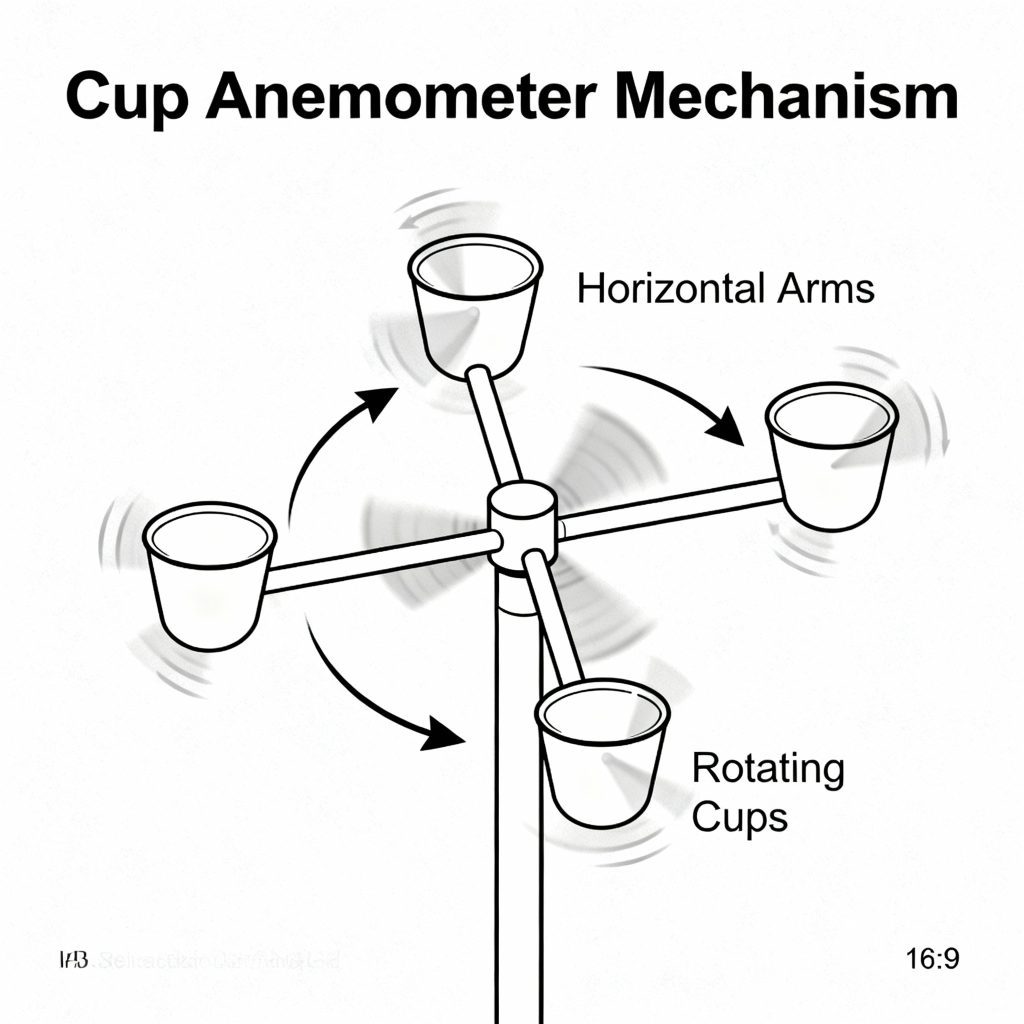
Cup anemometer cups and rotor in motion
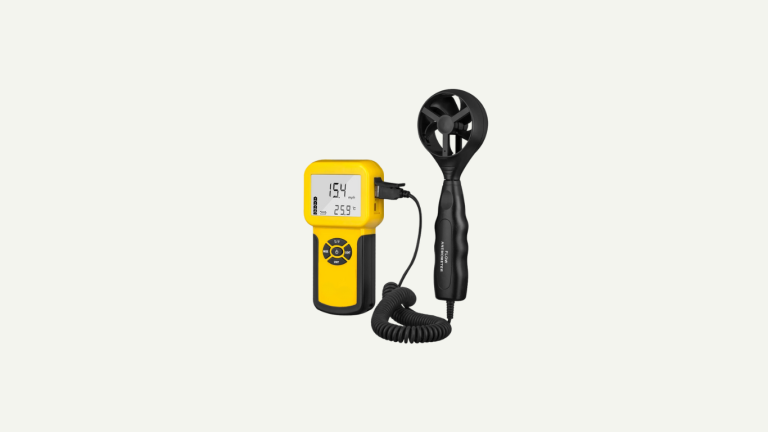
Propeller (Vane) Anemometer
Vane anemometers pair a propeller with a tail vane for direction. Pilots and sailors often use them to gauge wind on deck.
Hot-Wire Anemometer
Hot-wire anemometers use thermal detection to measure gentle breezes. Lab technicians and HVAC pros favor this type.
Ultrasonic Anemometer
Ultrasonic anemometers, known for their precision, use sound pulses for high accuracy. Researchers and renewable energy workers rely on them for precise data, instilling confidence in their findings.
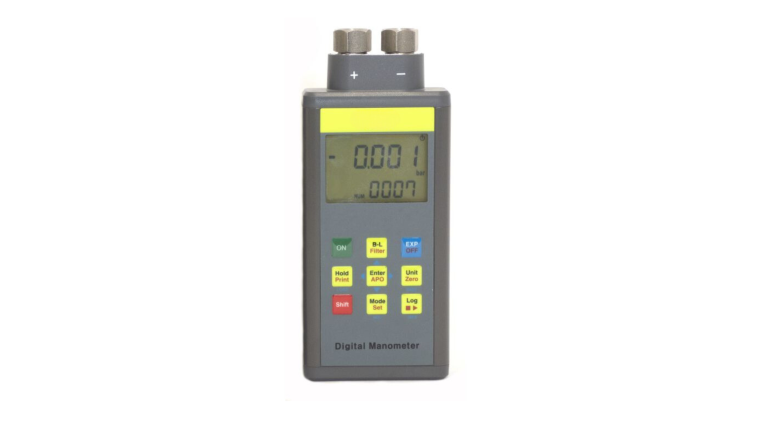
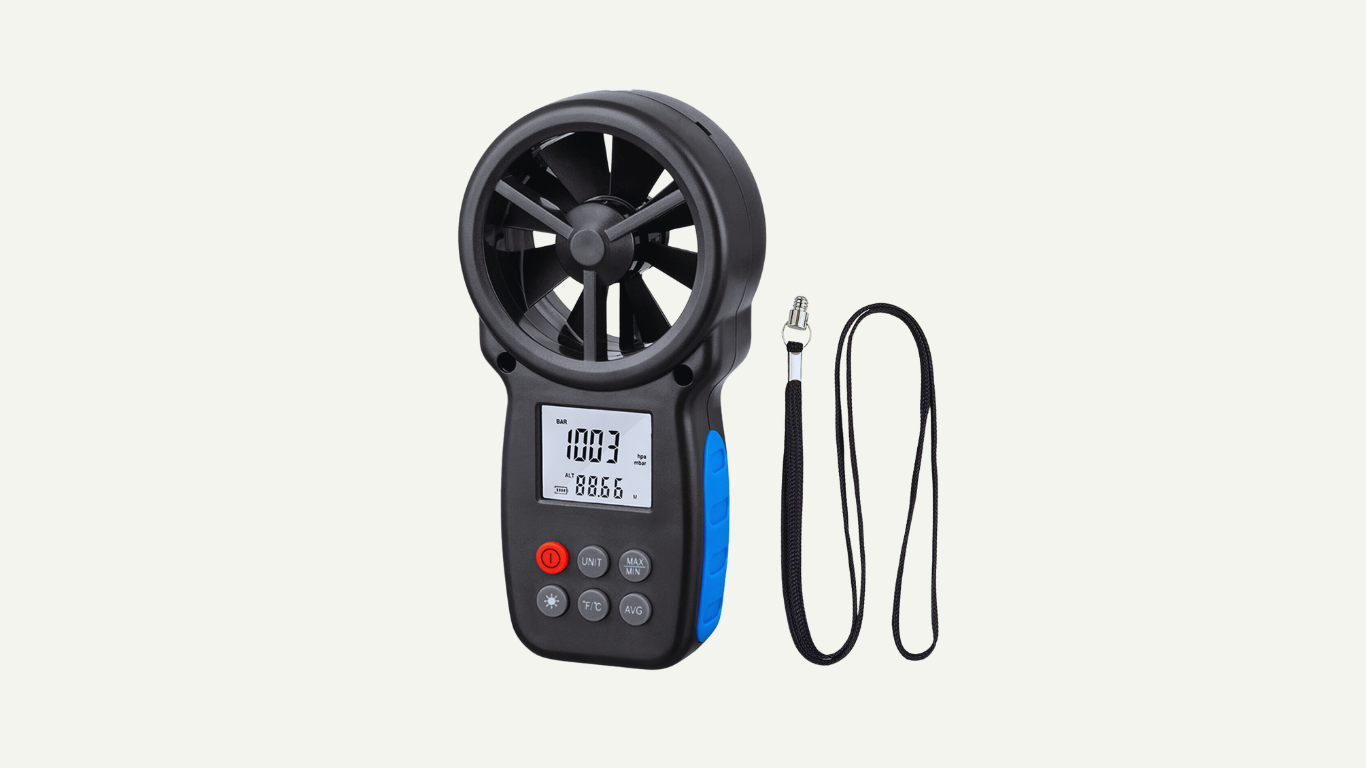
How to Use an Anemometer
Step-by-Step Guide
This process helps you capture reliable wind data for weather tracking, flight planning, or outdoor safety.
Ensuring Accuracy
Calibration and Maintenance
Keeping your anemometer accurate means regular checks and cleanings. Dirt, bird droppings, or ice can slow cups and blades. Misalignment or loose mounts can also skew readings. By maintaining your anemometer, you take a proactive role in ensuring reliable data.
Calibration Essentials
Calibration and Accuracy Table
|
Anemometer Type
|
Calibration Interval
|
Typical Accuracy
|
Field Check Option |
|---|---|---|---|
|
Cup/Vane |
2 years |
±0.1–0.5 m/s |
Zero reading |
|
Hot-Wire |
1 year |
±0.05 m/s |
Resistance test |
|
Ultrasonic |
2-3 years |
±2% of reading |
Diagnostic mode |
|
Handheld Digital |
1 year |
±5–10% |
Self-test |
Real-World Applications of Anemometers
Students and general knowledge seekers use anemometers to learn about wind patterns in science projects. Weather hobbyists install them at home to track local gusts. Drone pilots check wind speed before takeoff to ensure stable flights. For example, a student might use an anemometer to study the wind patterns in their local area for a science fair project. In contrast, a hobbyist might use it to monitor the wind conditions in their backyard for personal interest.
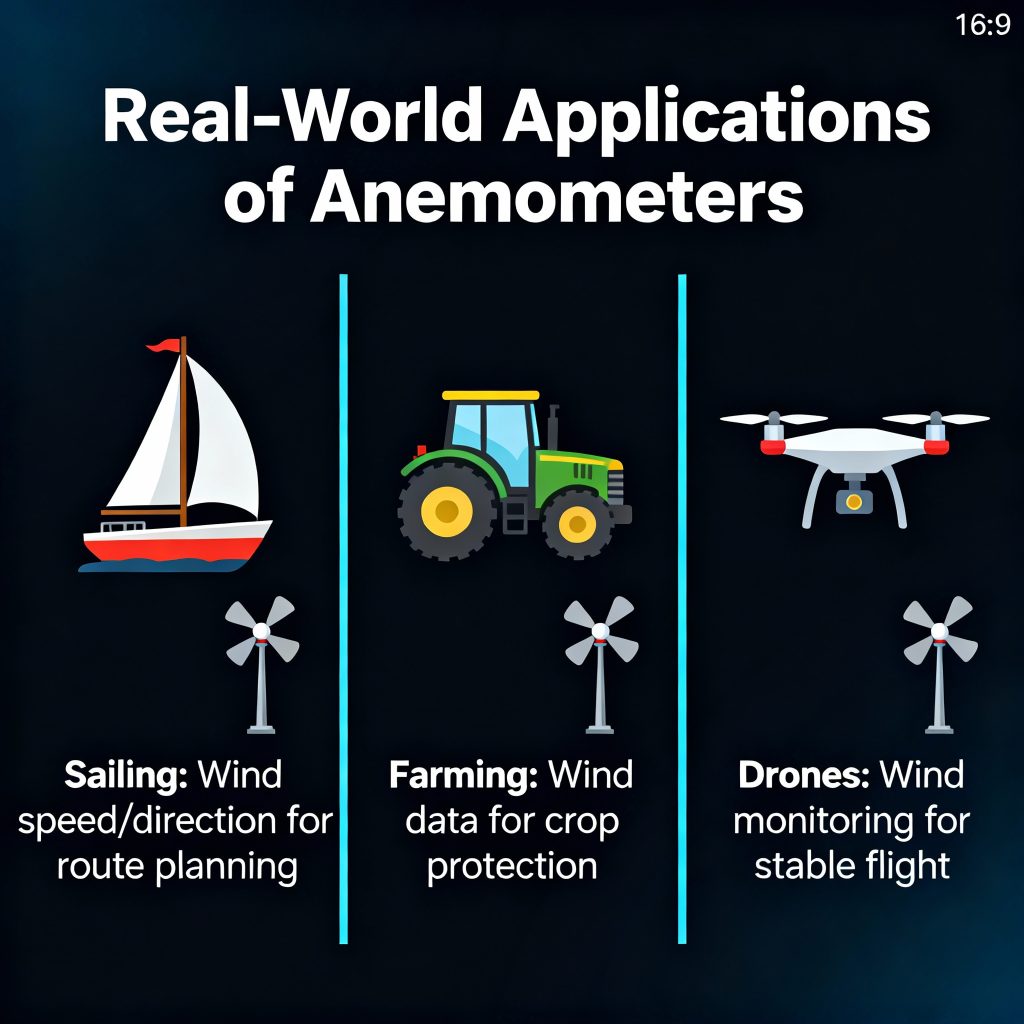
Sailors and boaters rely on anemometers to set sails and navigate safely. Kite surfers and paragliders monitor wind for ideal conditions and safety. Farmers use anemometers to time pesticide sprays and prevent drift.
Campers, hikers, and outdoor explorers watch wind changes to prepare for storms. Photographers and videographers gauge the wind to protect gear during shoots. Meteorologists and renewable energy workers survey wind data for forecasts and turbine site selection. Construction workers check wind loads before operating cranes or lifting materials.
How to Choose the Right Anemometer for Your Needs
Selecting the best anemometer depends on the accuracy requirements, budget, and portability needs. Here’s a quick comparison of key types:
|
Type
|
best For
|
Price Range
|
Accuracy |
Portability |
|---|---|---|---|---|
|
Handheld Digital |
Casual and outdoor use |
$20–$200 |
±5–10% |
High |
|
Cup/Propeller |
Weather stations, agriculture |
$50–$300 |
±2–5% |
Medium |
|
Vane Electronic |
HVAC and |
$100–$500 |
±2–3% |
Medium |
|
Ultrasonic |
Research and |
$800–$2,500+ |
±2% |
Low |
Consider these factors when choosing:
By matching these factors to your application—whether you’re spraying crops, flying drones, or running a wind farm—you’ll pick a meter that balances cost and performance.
Common Mistakes and Expert Tips
Avoid these setup and usage errors to get reliable wind readings:
Expert Tip: For best results in cold climates, use heated anemometers or add de-icing features.