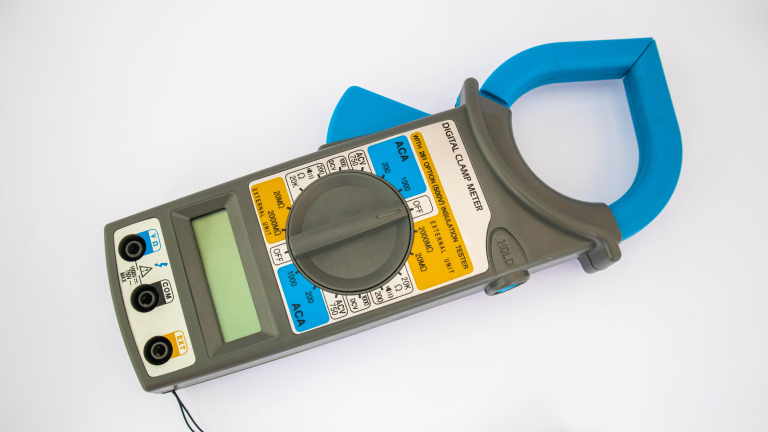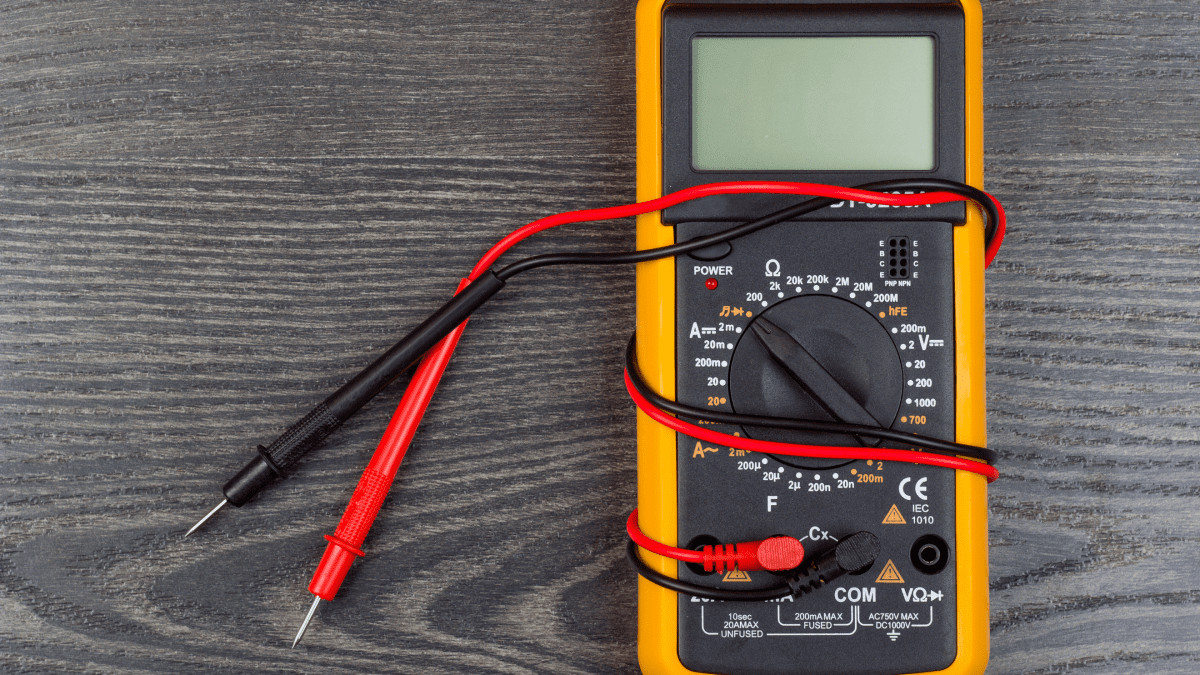
While multimeters are commonly used for basic electrical measurements like voltage, current, and resistance, they offer a range of advanced functions that can significantly expand their utility. Understanding and utilizing these advanced features can provide deeper insights into the behavior of electrical and electronic circuits, empowering you with comprehensive analysis and troubleshooting skills.
Brief overview of capacitance, frequency, and duty cycle measurements: Among the advanced functions of modern multimeters are capacitance, frequency, and duty cycle measurements. Capacitance measurement allows you to test and evaluate capacitors, essential components in many circuits. Frequency measurement helps analyze oscillators, signal generators, and other devices that produce or rely on specific frequencies. Duty cycle measurement is crucial for understanding and troubleshooting pulse-width modulated (PWM) signals widely used in digital and analog circuits.
This blog post aims to provide a comprehensive guide to these advanced multimeter functions, equipping you with the knowledge and skills to measure capacitance, frequency, and duty cycle effectively. By mastering these capabilities, you can unlock your multimeter’s full potential and take your electrical and electronics troubleshooting and analysis to the next level.
Capacitance Measurement
Capacitance is the ability of a component or system to store electrical charge. It is a fundamental property of capacitors, which are passive electronic components that consist of two conductive plates separated by an insulating material called a dielectric. Capacitors are widely used in various electrical and electronic circuits for energy storage, filtering, timing, and decoupling.
Measuring capacitance is crucial for several reasons:
- Troubleshooting capacitors in electrical circuits: Faulty capacitors can cause various circuit issues, such as improper filtering, signal distortion, or complete circuit failure. By measuring a capacitor’s capacitance, you can determine whether it is functioning correctly or needs to be replaced.
- Testing capacitors before installation: Before installing a capacitor in a circuit, it is essential to verify its capacitance value to ensure it meets the design requirements. Measuring capacitance can help identify faulty or out-of-specification components before they are integrated into a system, preventing potential problems.
How to measure capacitance with a multimeter
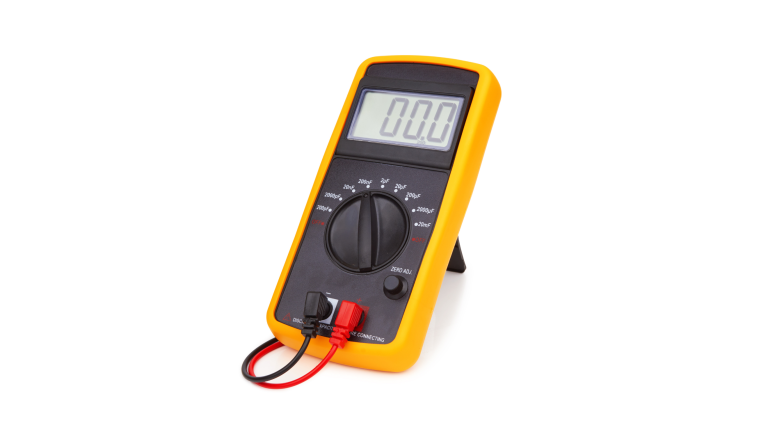
- Setting the multimeter to capacitance mode: Rotate the selector knob or dial on your multimeter to the capacitance measurement function, often represented by the symbol “C” or a capacitor icon.
- Connecting the multimeter to the capacitor: Disconnect the capacitor from the circuit or power source. Connect the red probe to one terminal of the capacitor and the black probe to the other terminal. Ensure that the capacitor is completely discharged before making the connections.
- Reading and interpreting the capacitance value: The multimeter will display the measured capacitance value in units such as microfarads (μF), nanofarads (nF), or picofarads (pF), depending on the capacitance range. Compare the measured value to the expected or specified capacitance for the component to determine if it is within the acceptable tolerance range.
Common issues and troubleshooting tips
- Dealing with polarized capacitors: Some capacitors, such as electrolytic capacitors, are polarized and have a positive and negative terminal. Connecting the multimeter probes to the correct terminals is crucial when measuring polarized capacitors. Reversing the polarity can damage the capacitor or lead to inaccurate measurements.
- Understanding the effects of parallel and series capacitance is crucial. When capacitors are connected in parallel, their effective capacitance is the sum of their individual capacitances. On the other hand, when capacitors are connected in series, their effective capacitance is lower than the smallest individual capacitance. This understanding is essential for interpreting capacitance measurements in complex circuits.Handling capacitor self-discharge: Capacitors can slowly discharge over time, especially after being disconnected from a circuit. If a capacitor has been divorced for an extended period, it may need to be entirely removed before an accurate capacitance measurement is taken. A resistor or dedicated capacitor discharge tool should be used to safely remove the capacitor before measurement.
By understanding capacitance, its importance, and the proper measurement techniques with a multimeter, you can effectively troubleshoot and verify capacitors in electrical and electronic circuits, ensuring their correct operation and performance.
Frequency Measurement
Frequency is a fundamental quantity in electrical and electronic systems. It represents the number of cycles or repetitions of a periodic signal per unit of time.
It is typically measured in hertz (Hz), which denotes the number of cycles per second. Understanding and measuring frequency is crucial for analyzing and troubleshooting various devices and circuits that rely on oscillating signals or precise timing.
Applications of frequency measurement
Checking the frequency of oscillators and signal generators: Oscillators and signal generators are essential components in many electronic systems, providing precise and stable frequency sources. Measuring the frequency of these devices is not just a theoretical exercise but a practical necessity to verify their correct operation and ensure they are generating the desired frequency. In electrical systems, it is crucial to ensure that the frequency of the alternating current (AC) power source matches the specified or rated frequency, typically 50 or 60 Hz.
Deviations from the expected frequency can indicate issues with the power supply, such as a malfunctioning generator or a problem with the grid. It can also lead to potential compatibility problems with connected equipment, as some devices may not operate correctly at frequencies outside their design range.C. Using a multimeter for frequency measurement
- Setting the multimeter to frequency mode: Rotate the selector knob or dial on your multimeter to the frequency measurement function, often represented by the symbol “Hz” or a waveform icon.
- Connecting the multimeter to the signal source: Connect the red probe to the point in the circuit or device where the signal is present and the black probe to a ground or common reference point. Ensure that the connection is made to a point where the signal is not attenuated or distorted.
- Reading and interpreting the frequency value: The multimeter will display the measured frequency value in units of hertz (Hz), kilohertz (kHz), or megahertz (MHz), depending on the frequency range. Compare the measured value to the expected or specified frequency to determine if it is within the acceptable tolerance range.
Advanced frequency measurement techniques
Some multimeters offer a duty cycle measurement function that can indirectly measure frequency. The duty cycle is the percentage of time a periodic signal is in a high or active state. By measuring the duty cycle, you can calculate the frequency using the formula: Frequency = 1 / (Period × Duty Cycle). This formula relates the frequency of a signal to its period and duty cycle, providing a useful tool for frequency measurement. Measuring frequency with an oscilloscope:
While not a built-in function of a multimeter, an oscilloscope can provide a more precise and visual representation of a signal’s frequency. By connecting the oscilloscope to the signal source and observing the waveform, you can measure the time between cycles and calculate the frequency using the formula: Frequency = 1 / Period.
By understanding frequency, its importance, and the various techniques for measuring it with a multimeter or oscilloscope, you can effectively analyze and troubleshoot oscillators, signal generators, power sources, and other devices that rely on precise frequency and timing.
Duty Cycle Measurement
The duty cycle measures when a periodic signal is in an active or high state compared to its total period. It is expressed as a percentage ranging from 0% (always off) to 100% (always on). The duty cycle is essential in various electrical and electronic systems, particularly those that utilize pulse-width modulation (PWM) techniques.
Applications of duty cycle measurement
- Analyzing pulse-width modulated (PWM) signals: PWM is widely used to control and regulate power in electronic devices. The average power delivered to a load can be adjusted by varying the duty cycle of a periodic signal. Measuring the duty cycle of a PWM signal is crucial for understanding and optimizing the performance of systems that rely on this technique, such as motor control, LED dimming, and power supplies.
- Troubleshooting digital and analog circuits: Duty cycle measurements can provide insights into the behavior of digital and analog circuits by analyzing the timing and duration of signals. Deviations from expected duty cycle values can indicate issues with components, timing circuits, or logic gates, aiding in identifying and resolving problems.
Measuring duty cycle with a multimeter
- Setting the multimeter to duty cycle mode: Rotate the selector knob or dial on your multimeter to the duty cycle measurement function, often represented by the symbol “%” or a waveform icon with a percentage indicator.
- Connecting the multimeter to the signal source: Connect the red probe to the point in the circuit or device where the signal is present and the black probe to a ground or common reference point. Ensure that the connection is made to a point where the signal is not attenuated or distorted.
- Reading and interpreting the duty cycle percentage: The multimeter will display the measured duty cycle as a percentage value. This represents the proportion of time the signal is in a high or active state within its period. Compare the estimated duty cycle percentage to the expected or specified value to determine if it is within the acceptable tolerance range.
Advanced duty cycle measurement techniques
- Using the frequency function for duty cycle measurement: Some multimeters allow you to measure the duty cycle using the frequency measurement function indirectly. By measuring the signal frequency in both the high and low states, you can calculate the duty cycle using the formula Duty Cycle = (High et al. / Total Frequency) × 100%.
- Measuring duty cycle with an oscilloscope: Similar to frequency measurement, an oscilloscope can visually represent a signal’s duty cycle. By connecting the oscilloscope to the signal source and observing the waveform, you can measure the time spent in the high and low states and calculate the duty cycle as a percentage of the total period.
By understanding the duty cycle, its significance, and the various techniques for measuring it with a multimeter or oscilloscope, you can effectively analyze and troubleshoot PWM-based systems, digital and analog circuits, and other applications that rely on precise signal timing and duty cycle control.
Conclusion
In this blog post, we have explored three essential advanced functions of multimeters: capacitance, frequency, and duty cycle measurements. We started by understanding the fundamentals of capacitance and its vital role in electrical and electronic circuits. We then learned how to measure capacitance using a multimeter, including setting the correct mode, connecting the probes, interpreting the readings, and handling common issues like polarized capacitors and self-discharge.
Moving on, we delved into frequency measurement, which is crucial for analyzing oscillators, signal generators, and power sources. We covered setting up the multimeter for frequency measurement, connecting it to the signal source, and interpreting the frequency readings. Additionally, we discussed advanced techniques like using the duty cycle function and oscilloscope for more precise frequency measurements.
Finally, we explored duty cycle measurement, which is essential for understanding and troubleshooting pulse-width modulated (PWM) signals and digital and analog circuits. We learned how to set up the multimeter for duty cycle measurement, connect it to the signal source, and interpret the duty cycle percentage readings. We also discussed advanced techniques, such as using the frequency function and oscilloscope for duty cycle measurements.


