Accurate potentiometer readings matter in many systems. They help keep machines running smoothly and experiments on track. A wrong reading can cause minor errors or significant failures.
Calibration fixes this. It links the potentiometer’s raw electrical output to real-world values. After calibration, each reading matches the proper position, voltage, or resistance.
In this guide, you’ll get clear calibration steps. You’ll learn easy checks and fixes. Whether you tweak a lab setup or fine-tune a robot arm, these tips will help you get dependable results every time.
What Is Potentiometer Calibration?
Calibration links your potentiometer’s electrical output to real-world values. A potentiometer gives you voltage or resistance. On its own, those numbers don’t tell you the actual position, angle, or force you’re measuring. Calibration makes that link clear and reliable.
To calibrate:
With those paired readings, you build a calibration curve or lookup table. Then any raw reading converts directly into the physical value you need. Proper calibration keeps your measurements accurate, linear, and meaningful—so your control loops, instruments, or robots work precisely as you intend.
Preparing for Calibration
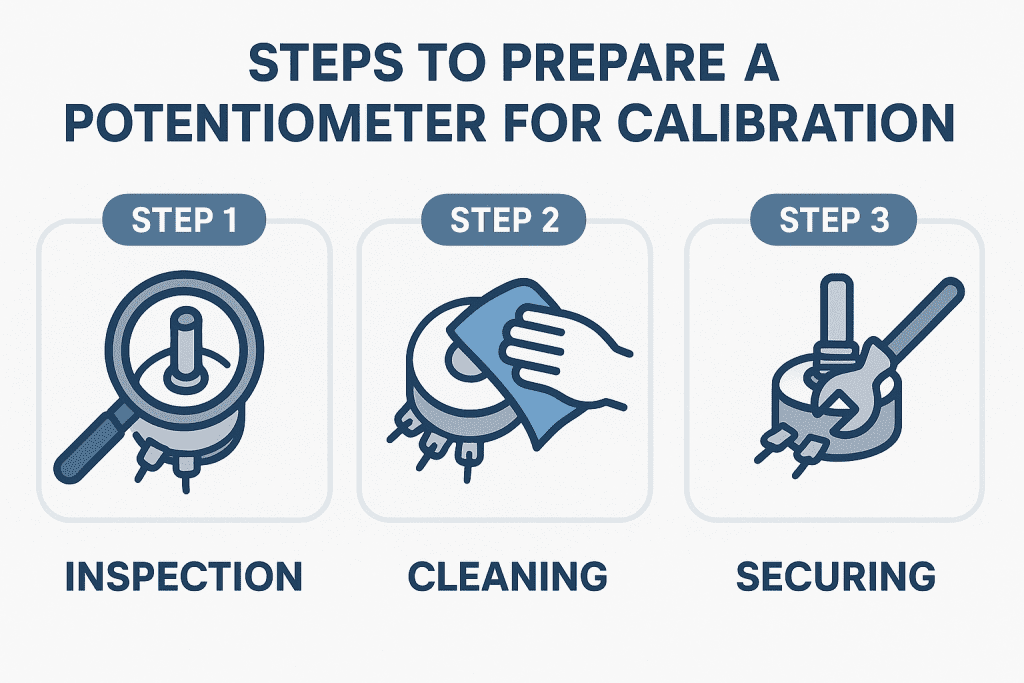
Preparation steps for potentiometer calibration
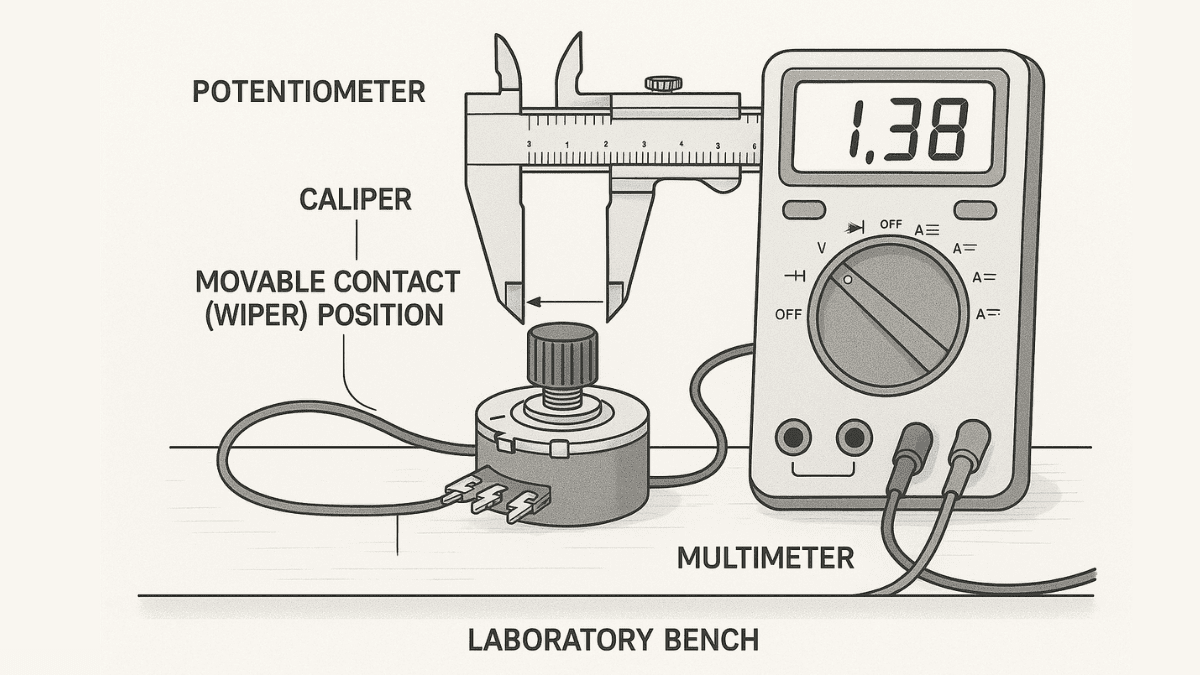
Before you start, pick how you’ll measure the potentiometer’s output—either by noting readings at set positions or by using a precision tool like a digital caliper. Then give the potentiometer a quick once-over: look for damage, tighten any loose parts, and clean and lubricate its moving elements so it glides smoothly.
To set up correctly, follow these steps:
Gather your precision tools next. A caliper works for linear travel, a dial gauge catches fine shifts, and a protractor handles angles. Finally, plan 8–12 measurement points evenly spaced across the travel range. With your method chosen, your hardware prepped, and your data points mapped out, you’re ready to move on to the calibration itself.
Manual Calibration Process
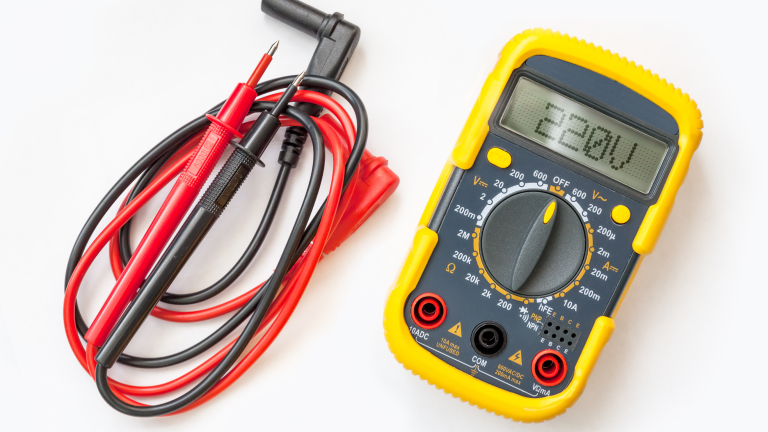
Manual calibration maps your potentiometer’s electrical output to real-world measurements by pairing physical readings with voltage or resistance values. You’ll need basic tools—calipers for linear shifts, protractors for angles, force gauges for loads—and a multimeter or data logger to capture the output.
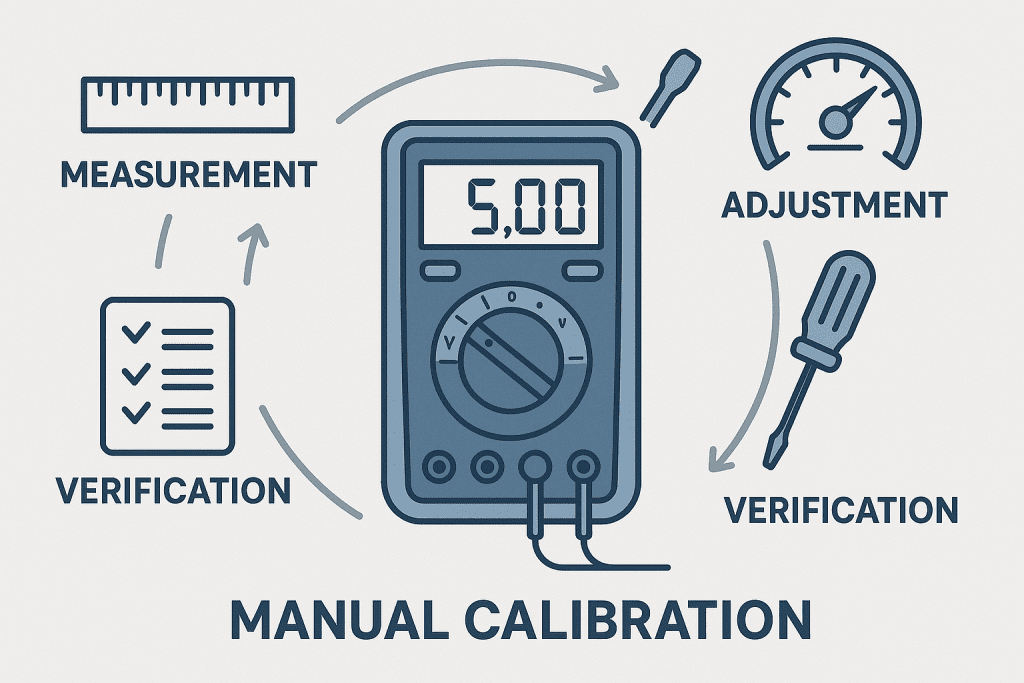
Manual calibration workflow
- Set Up
- Secure the potentiometer in a fixed rig
- Hook up your multimeter or DAQ to read voltage or resistance
- Take Initial Reading
- Move to the start position.n
- Measure the physical value (mm, degrees, newtons)
- Record the electrical output
- Increment Through Range
- Advance in equal steps (for example, every 10 mm or 10°)
- At each point, log both physical and electrical values
- Plot and Analyze
- Graph physical values on the X-axis and electrical outputs on the Y-axis
- Check for smooth, linear behavior
- Spot any outliers or erratic readings
- Create Your Calibration Curve
- Fit a trendline or derive an equation to convert raw outputs
- Or build a lookup table with step-wise values
- Apply and Verify
- Use your equation or table to translate future readings
- Recheck after any mechanical changes to keep accuracy tight
Combining careful measurement with clear data pairing yields a reliable calibration curve tailored to your application. Continuous verification and minor tweaks help maintain precision over time.
External Sensor Calibration Setup
Using External Sensors for Calibration
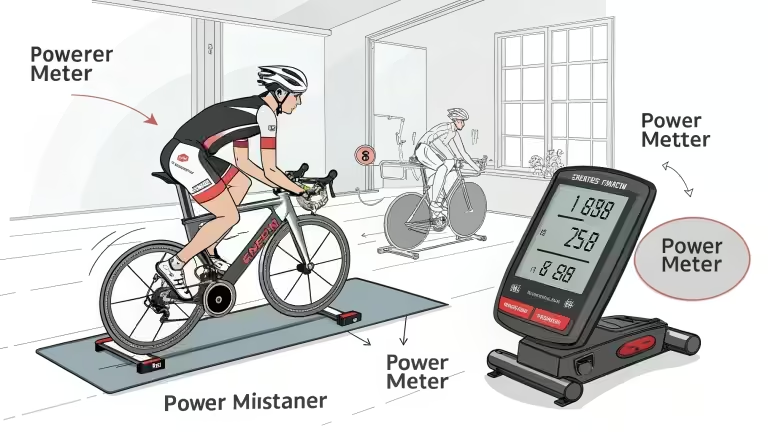
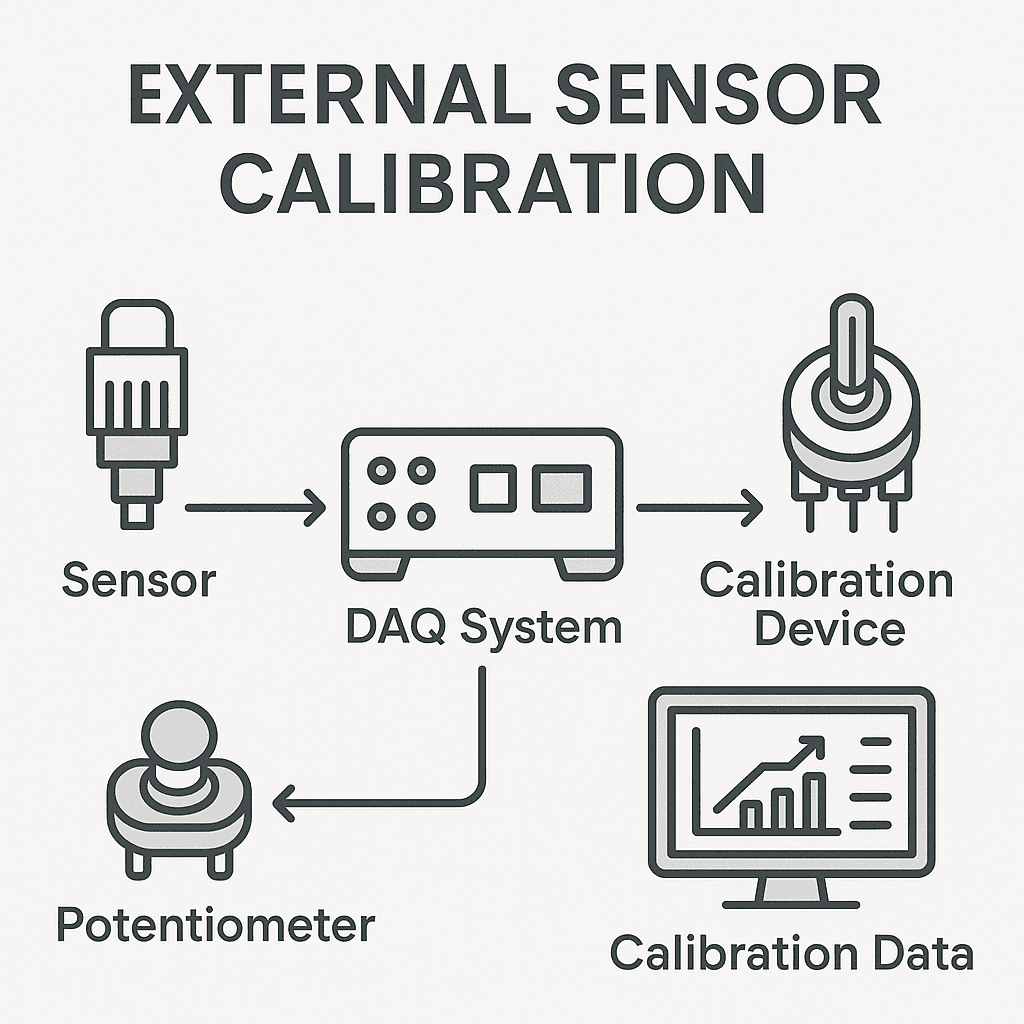
You can speed up calibration by pairing your potentiometer with an external sensor that measures the same property directly. Hook both sensors to a data acquisition system—like a microcontroller, PLC, or PC with logging software—to capture readings at once. As you cycle through the potentiometer’s range, the software logs each potentiometer output alongside the sensor’s actual value.
First, pick a sensor type that matches your measurement:
Next, set up the hardware:
Then run an automated sweep:
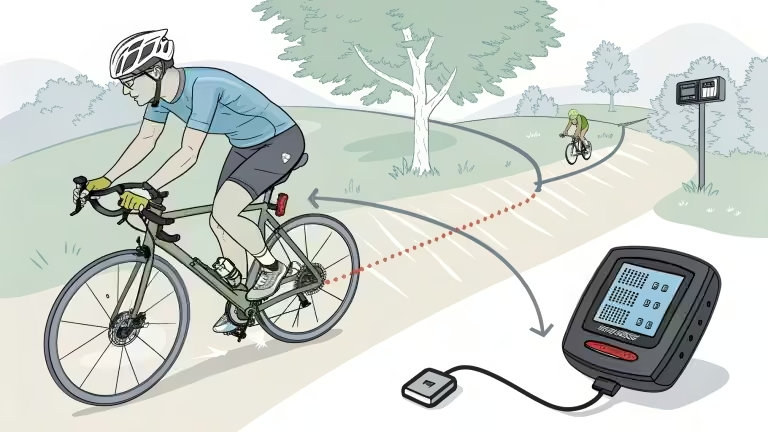
With the captured data, apply curve-fitting or lookup-table algorithms to map potentiometer outputs to actual values. This method cuts out manual measurements, making batch calibration fast and consistent. A simple script on your microcontroller can even handle the entire process, from data logging to equation generation, easing large-scale or repeated calibrations.
Advanced Calibration Techniques
When standard methods reach their limits, advanced techniques can enhance precision and stability in harsh conditions.
Begin by managing temperature effects. Potentiometers can drift when they heat up or cool down, so characterizing a device’s response curve lets you apply real-time software corrections. Next, move beyond basic two-point mapping by using multiple calibration points across the range. Fitting a higher-order equation to this data dramatically improves linearity and resolution.
To reduce noise, sample rapidly at each position and average the readings. This filters out random spikes and yields cleaner calibration points. For systems that change over time, design in quick in-field recalibration options. A single known reference point—like a mechanical stop—lets you reset accuracy without rebuilding your whole setup.
Finally, consider full automation for volume production. Using linear actuators, servos, and PLC control, you can cycle dozens of potentiometers through their ranges while an external sensor logs data. Unique curves are generated automatically, cutting setup time and human error. By combining these advanced steps, you’ll unlock peak performance and reliability from your potentiometers.
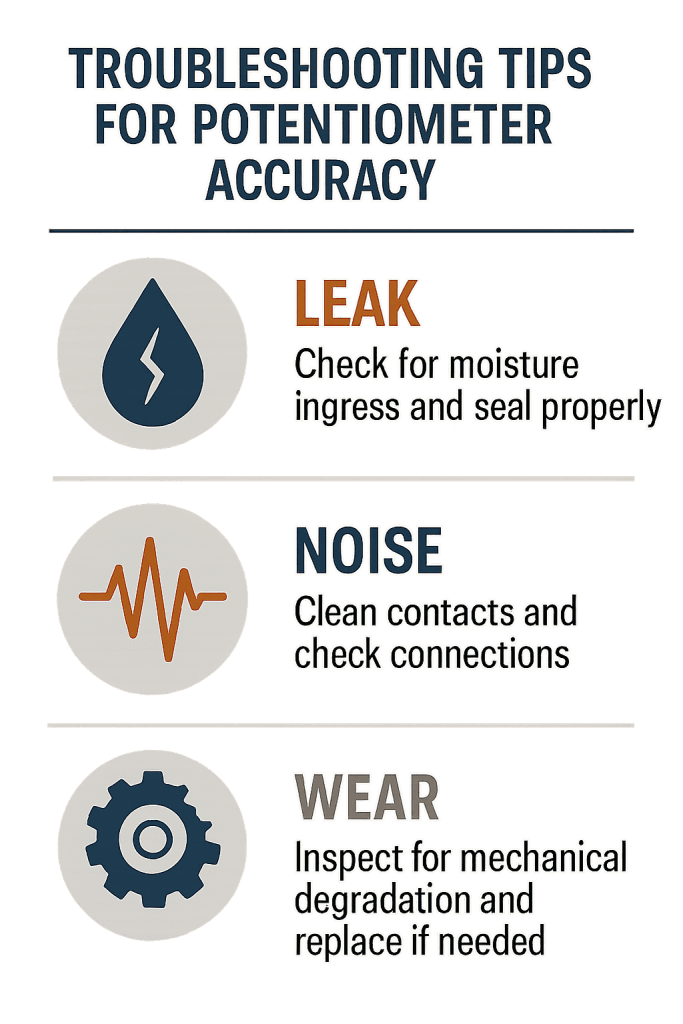
Troubleshooting Accuracy Issues
If your calibration curve has odd jumps or curves, follow these steps:
- Check the Potentiometer
- Look for worn contacts, oxidized tracks, or bent shafts
- Replace the unit if you see evident mechanical damage
- Inspect Your Setup
- Tighten loose couplings and fittings.
- Clear debris and ensure smooth motion
- Secure all electrical connections.
- Reduce Noise
- In software, use oversampling and averaging to smooth data
- Add a simple high-pass or low-pass filter to block spikes
- Dig Deeper for Persistent Jitter
- Look for ground loops or poor shielding
- Verify your power supply is stable and well-regulated
- Protect Against the Environment
- In harsh conditions, use sealed potentiometers or shock mounts
- Keep moisture and vibration away from moving parts
- Recalibrate Regularly
- Even good potentiometers drift over time.
- Set a schedule (for example, every 6 months) to catch small shifts early.
By checking each of these areas, you’ll find and fix the source of your errors, keeping your measurements accurate and reliable.
Conclusion
Calibrating a potentiometer turns its raw voltage or resistance into real-world measurements you can trust. Start by setting up your hardware, picking the right tools, and taking clear data points. Use manual methods for small jobs and external sensors or automation when you need speed and repeatability.
Remember to check your setup for loose parts or noise, and recalibrate on a regular schedule. With these steps, your potentiometer will give you accurate, reliable readings every time.